How to Automate LinkedIn Connection Requests with Bindago
Expanding your professional network on LinkedIn is fundamental for sales, recruiting, and business development. A larger, more relevant network means more opportunities, greater visibility, and a stronger personal brand. However, the manual process of sending connection requests one by one is incredibly time-consuming and inefficient, especially when you're trying to reach hundreds or thousands of prospects.
This guide will show you how to automate your LinkedIn connection requests using Bindago, allowing you to send personalized invitations at scale, save countless hours, and build a powerful, relevant network faster than ever before.
Why Automate LinkedIn Connection Requests?
Manually sending connection requests is a bottleneck. You find a great list of prospects in Sales Navigator, but the thought of clicking "Connect" on each profile, writing a note, and repeating the process hundreds of time is daunting.
Automating this process provides several key benefits:
- Massive Time Savings: What would take hours to do manually can be set up in minutes.
- Consistency: An automated system ensures you are consistently growing your network every day, even when you're busy.
- Scalability: Easily reach hundreds of prospects per week, something that is impossible to do manually.
- Personalization at Scale: The right tool allows you to use templates and variables to send personalized messages to every prospect, increasing your acceptance rate.
Automating Connection Requests with Bindago
Bindago is a powerful desktop application designed to automate your LinkedIn outreach safely and effectively. One of its core features is the ability to send personalized connection requests in bulk to a targeted list of prospects.
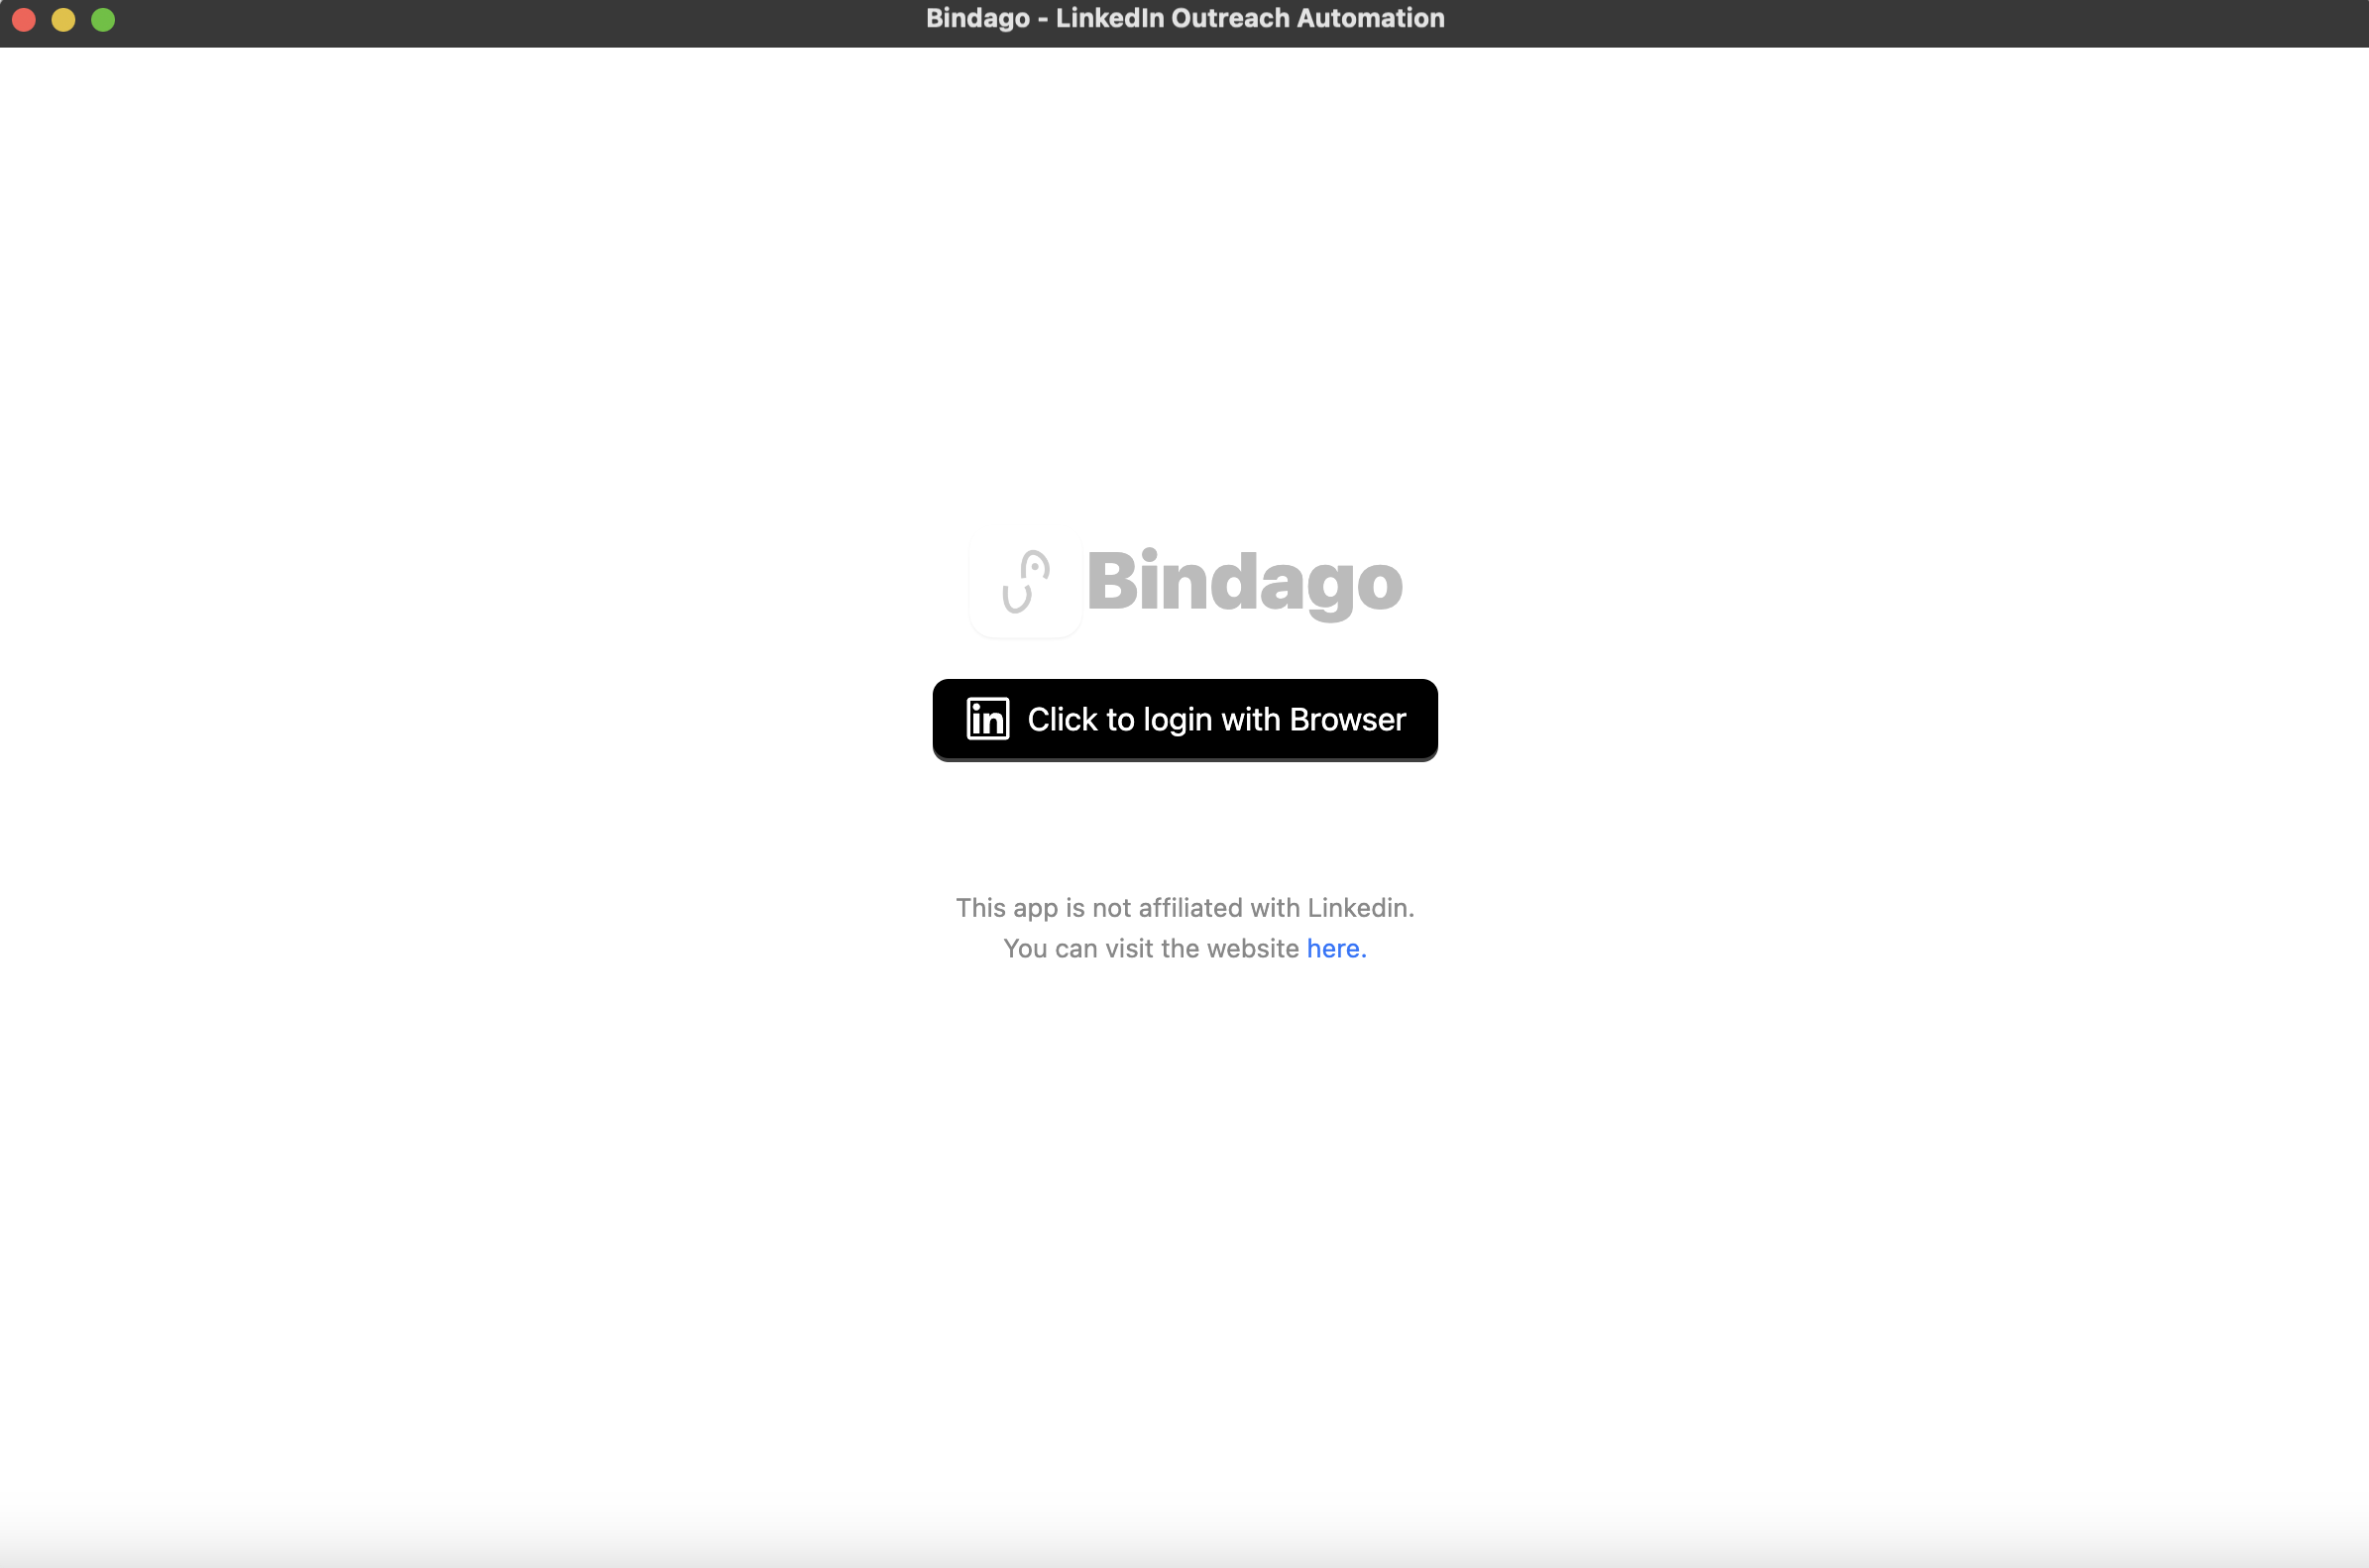
Step 1: Install Bindago and Log In
First, download the Bindago application for your operating system (Windows, macOS, or Linux). After installing, launch the app and log in to your LinkedIn account. Because Bindago is a desktop app, your credentials remain securely on your computer and are never shared with a third-party server.
Step 2: Build Your Target List
Before you can send requests, you need a list of people to connect with. The best way to do this is by using LinkedIn or Sales Navigator to build a hyper-targeted list of your ideal prospects. Use advanced filters like industry, company size, job title, and seniority to ensure your list is highly relevant.
Once you have your search results, copy the URL from your browser's address bar.
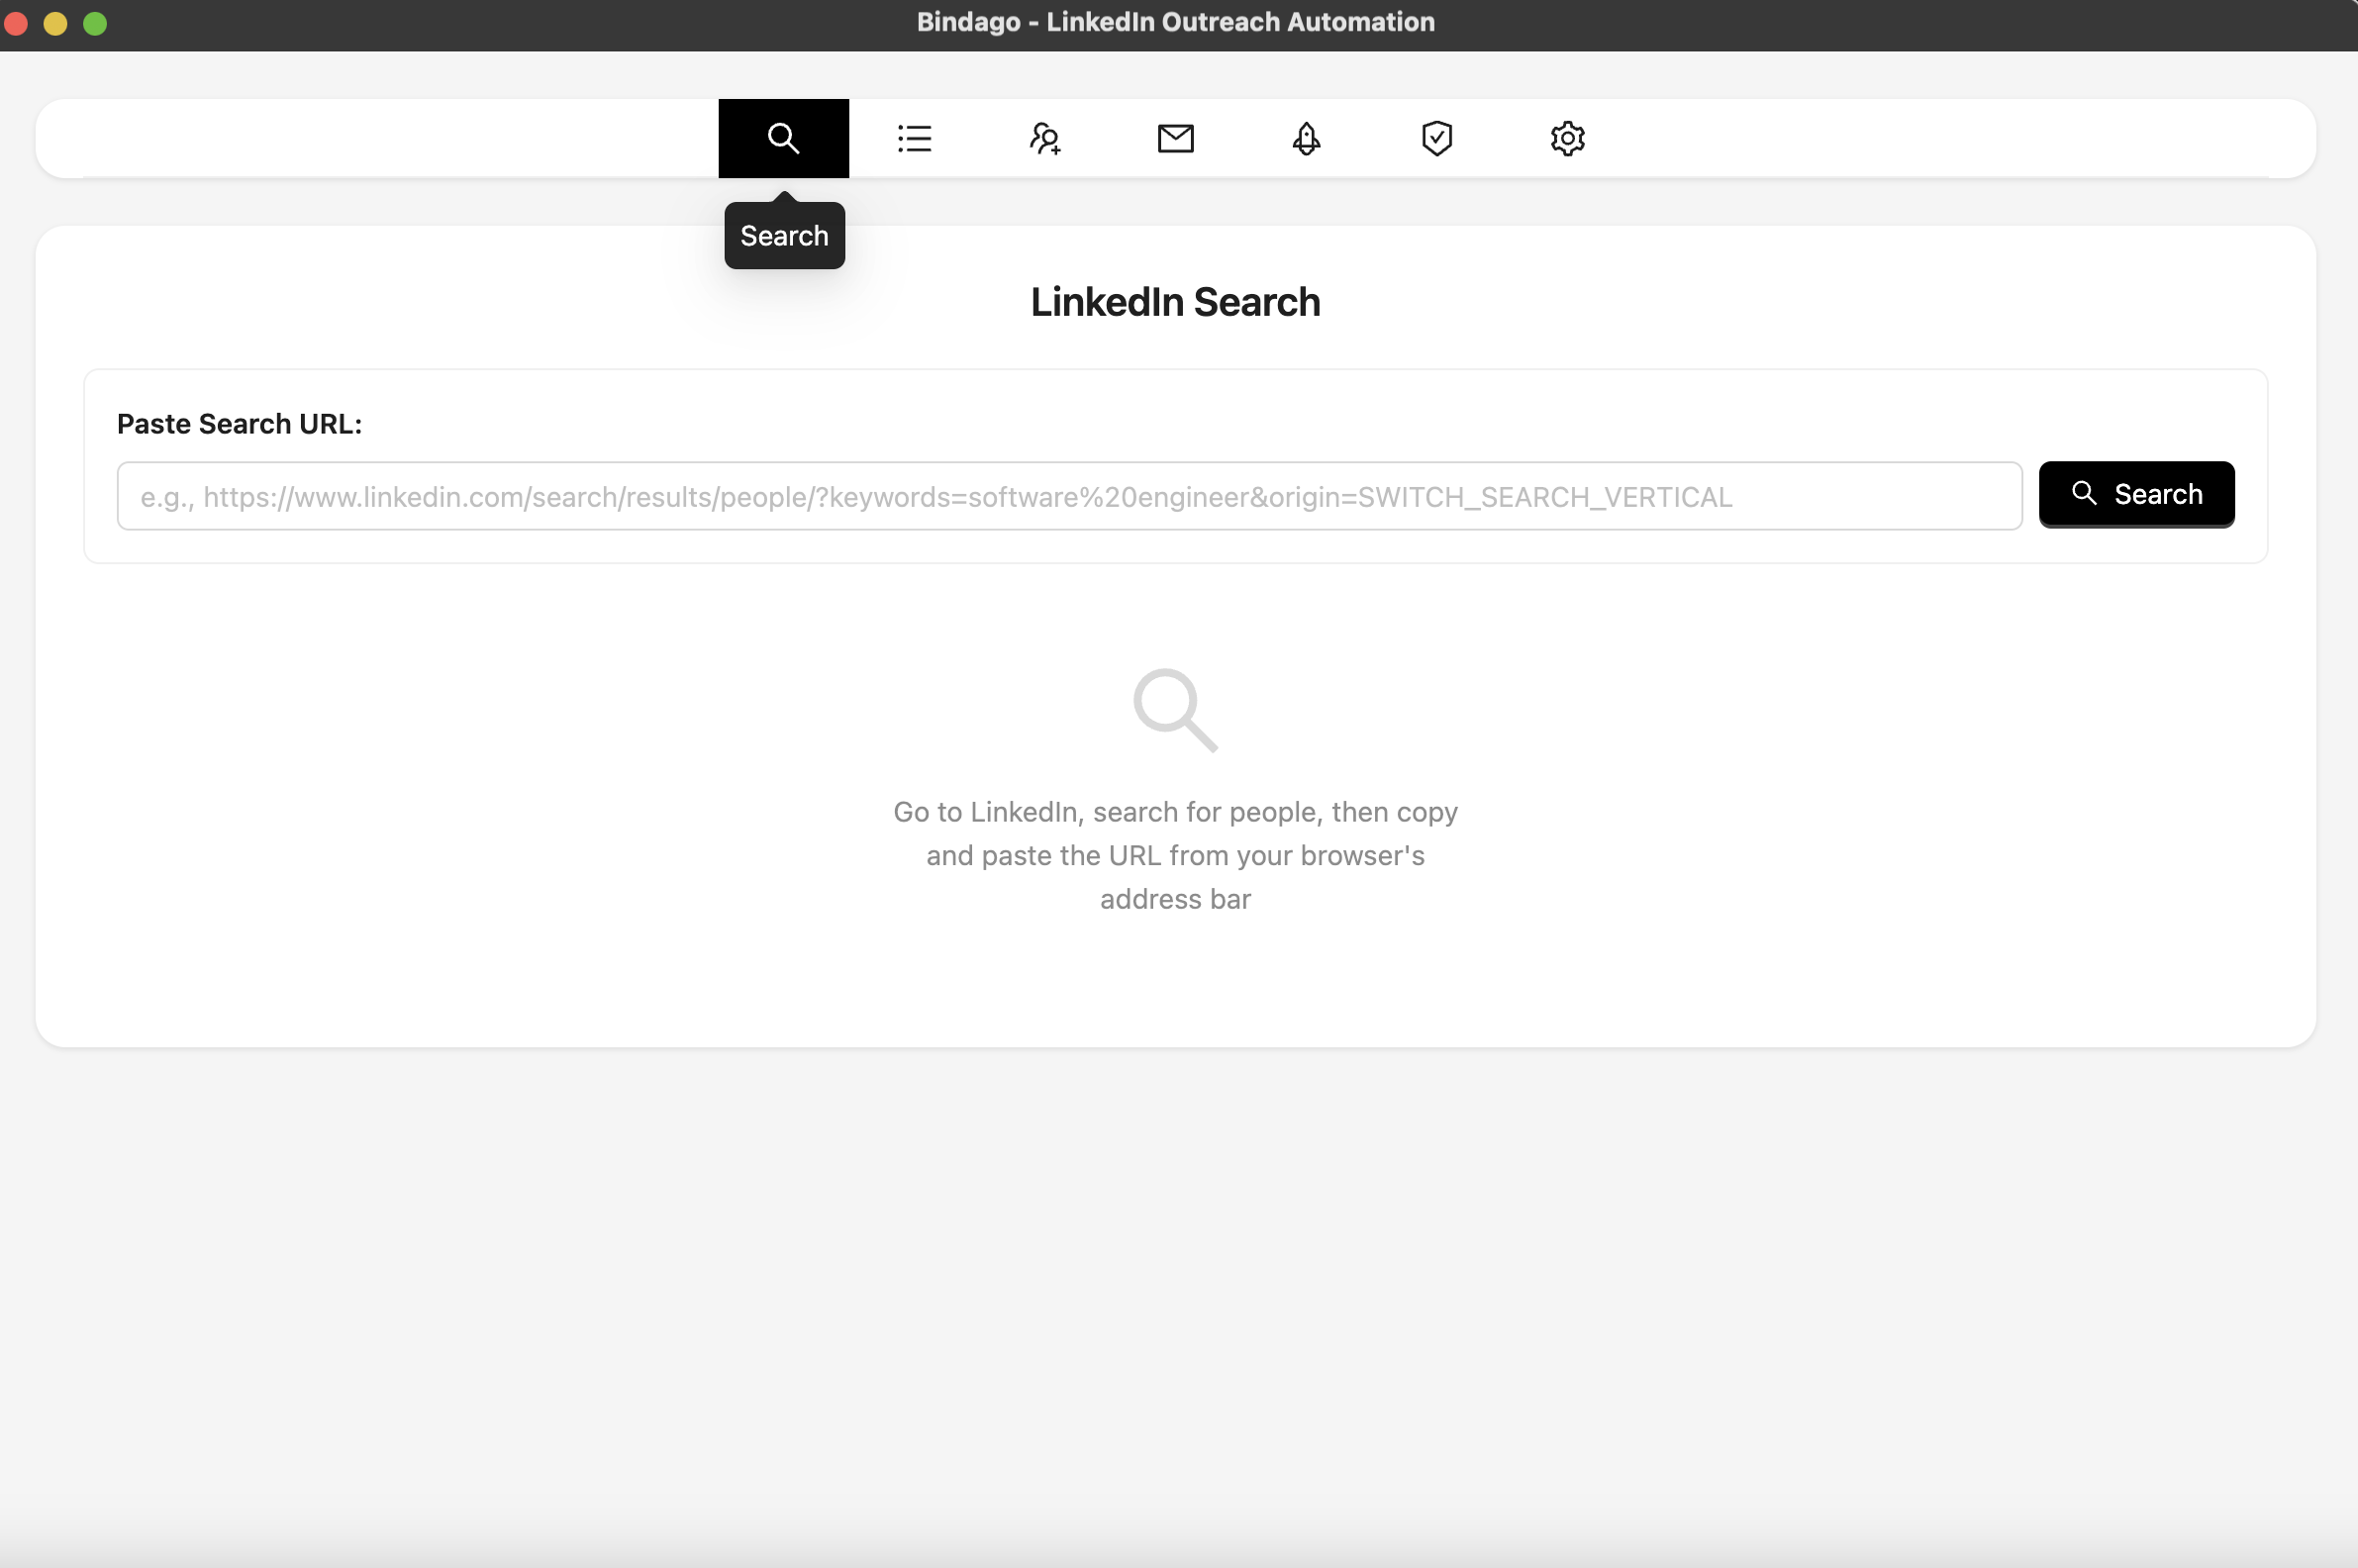
Step 3: Load Your Prospects into Bindago
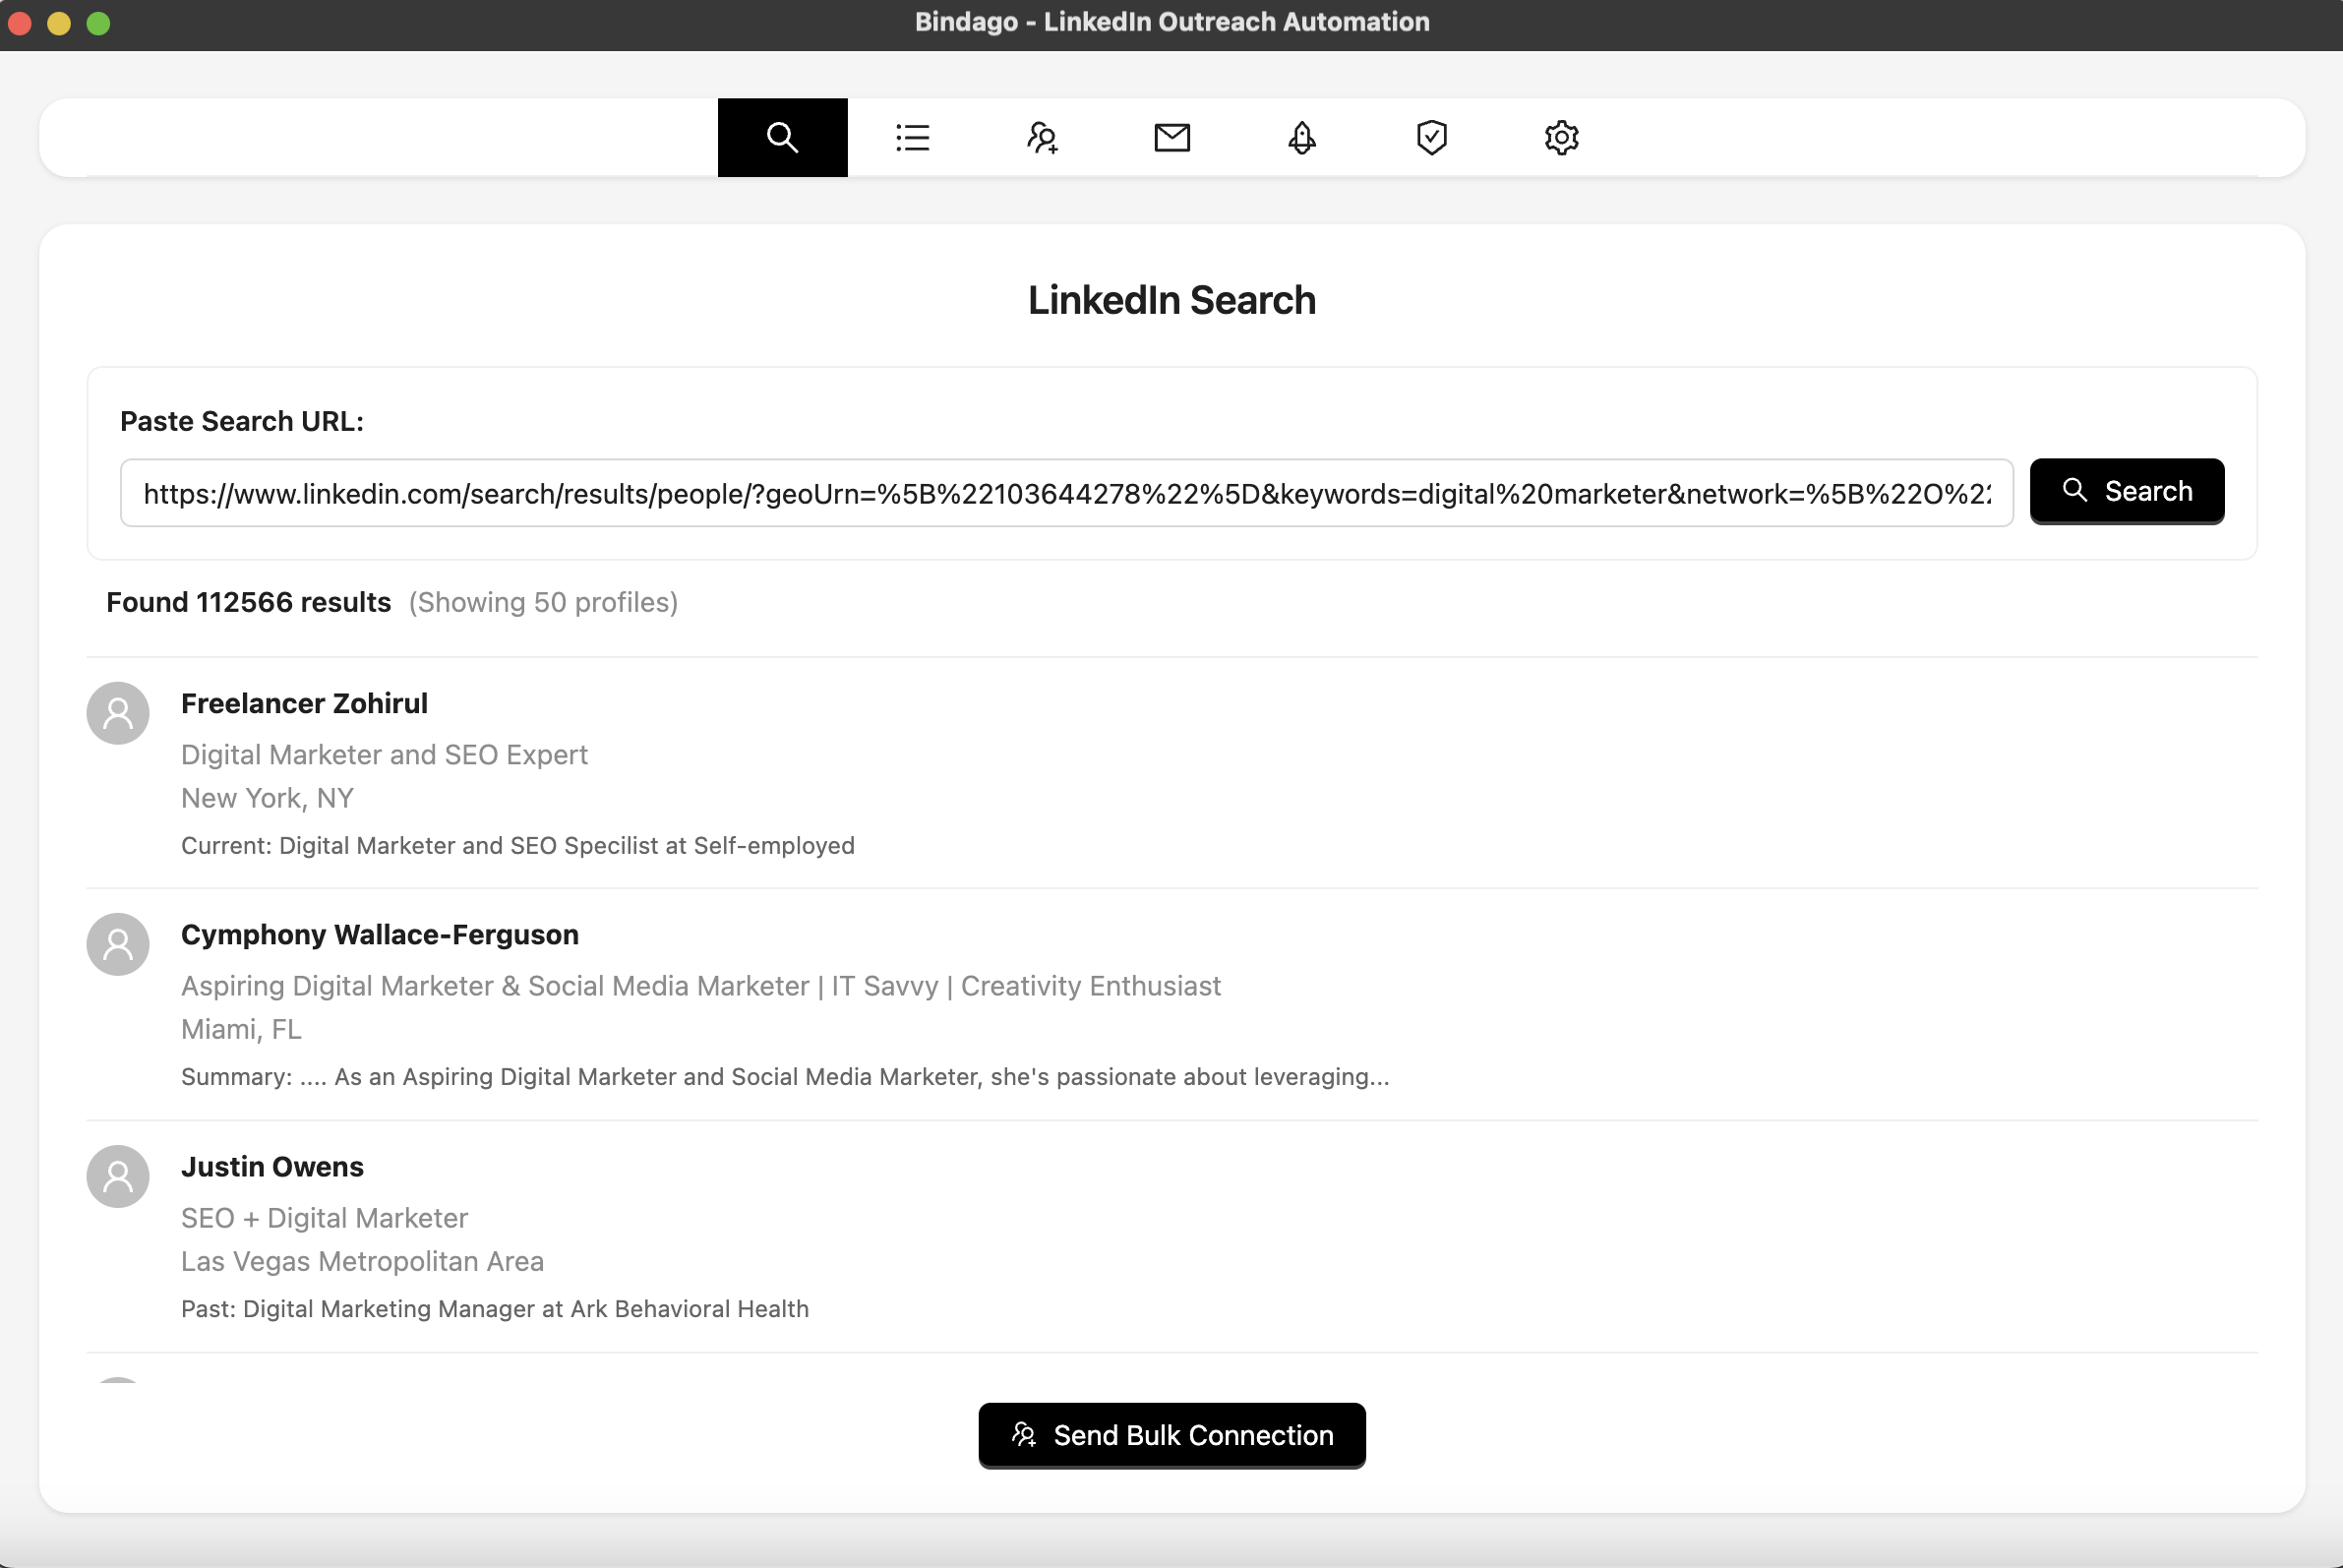
In the Bindago app, navigate to the "Search" interface by clicking the search icon in the top menu. Paste the URL of your LinkedIn or Sales Navigator search results into the input box. Bindago will load the same list of prospects.
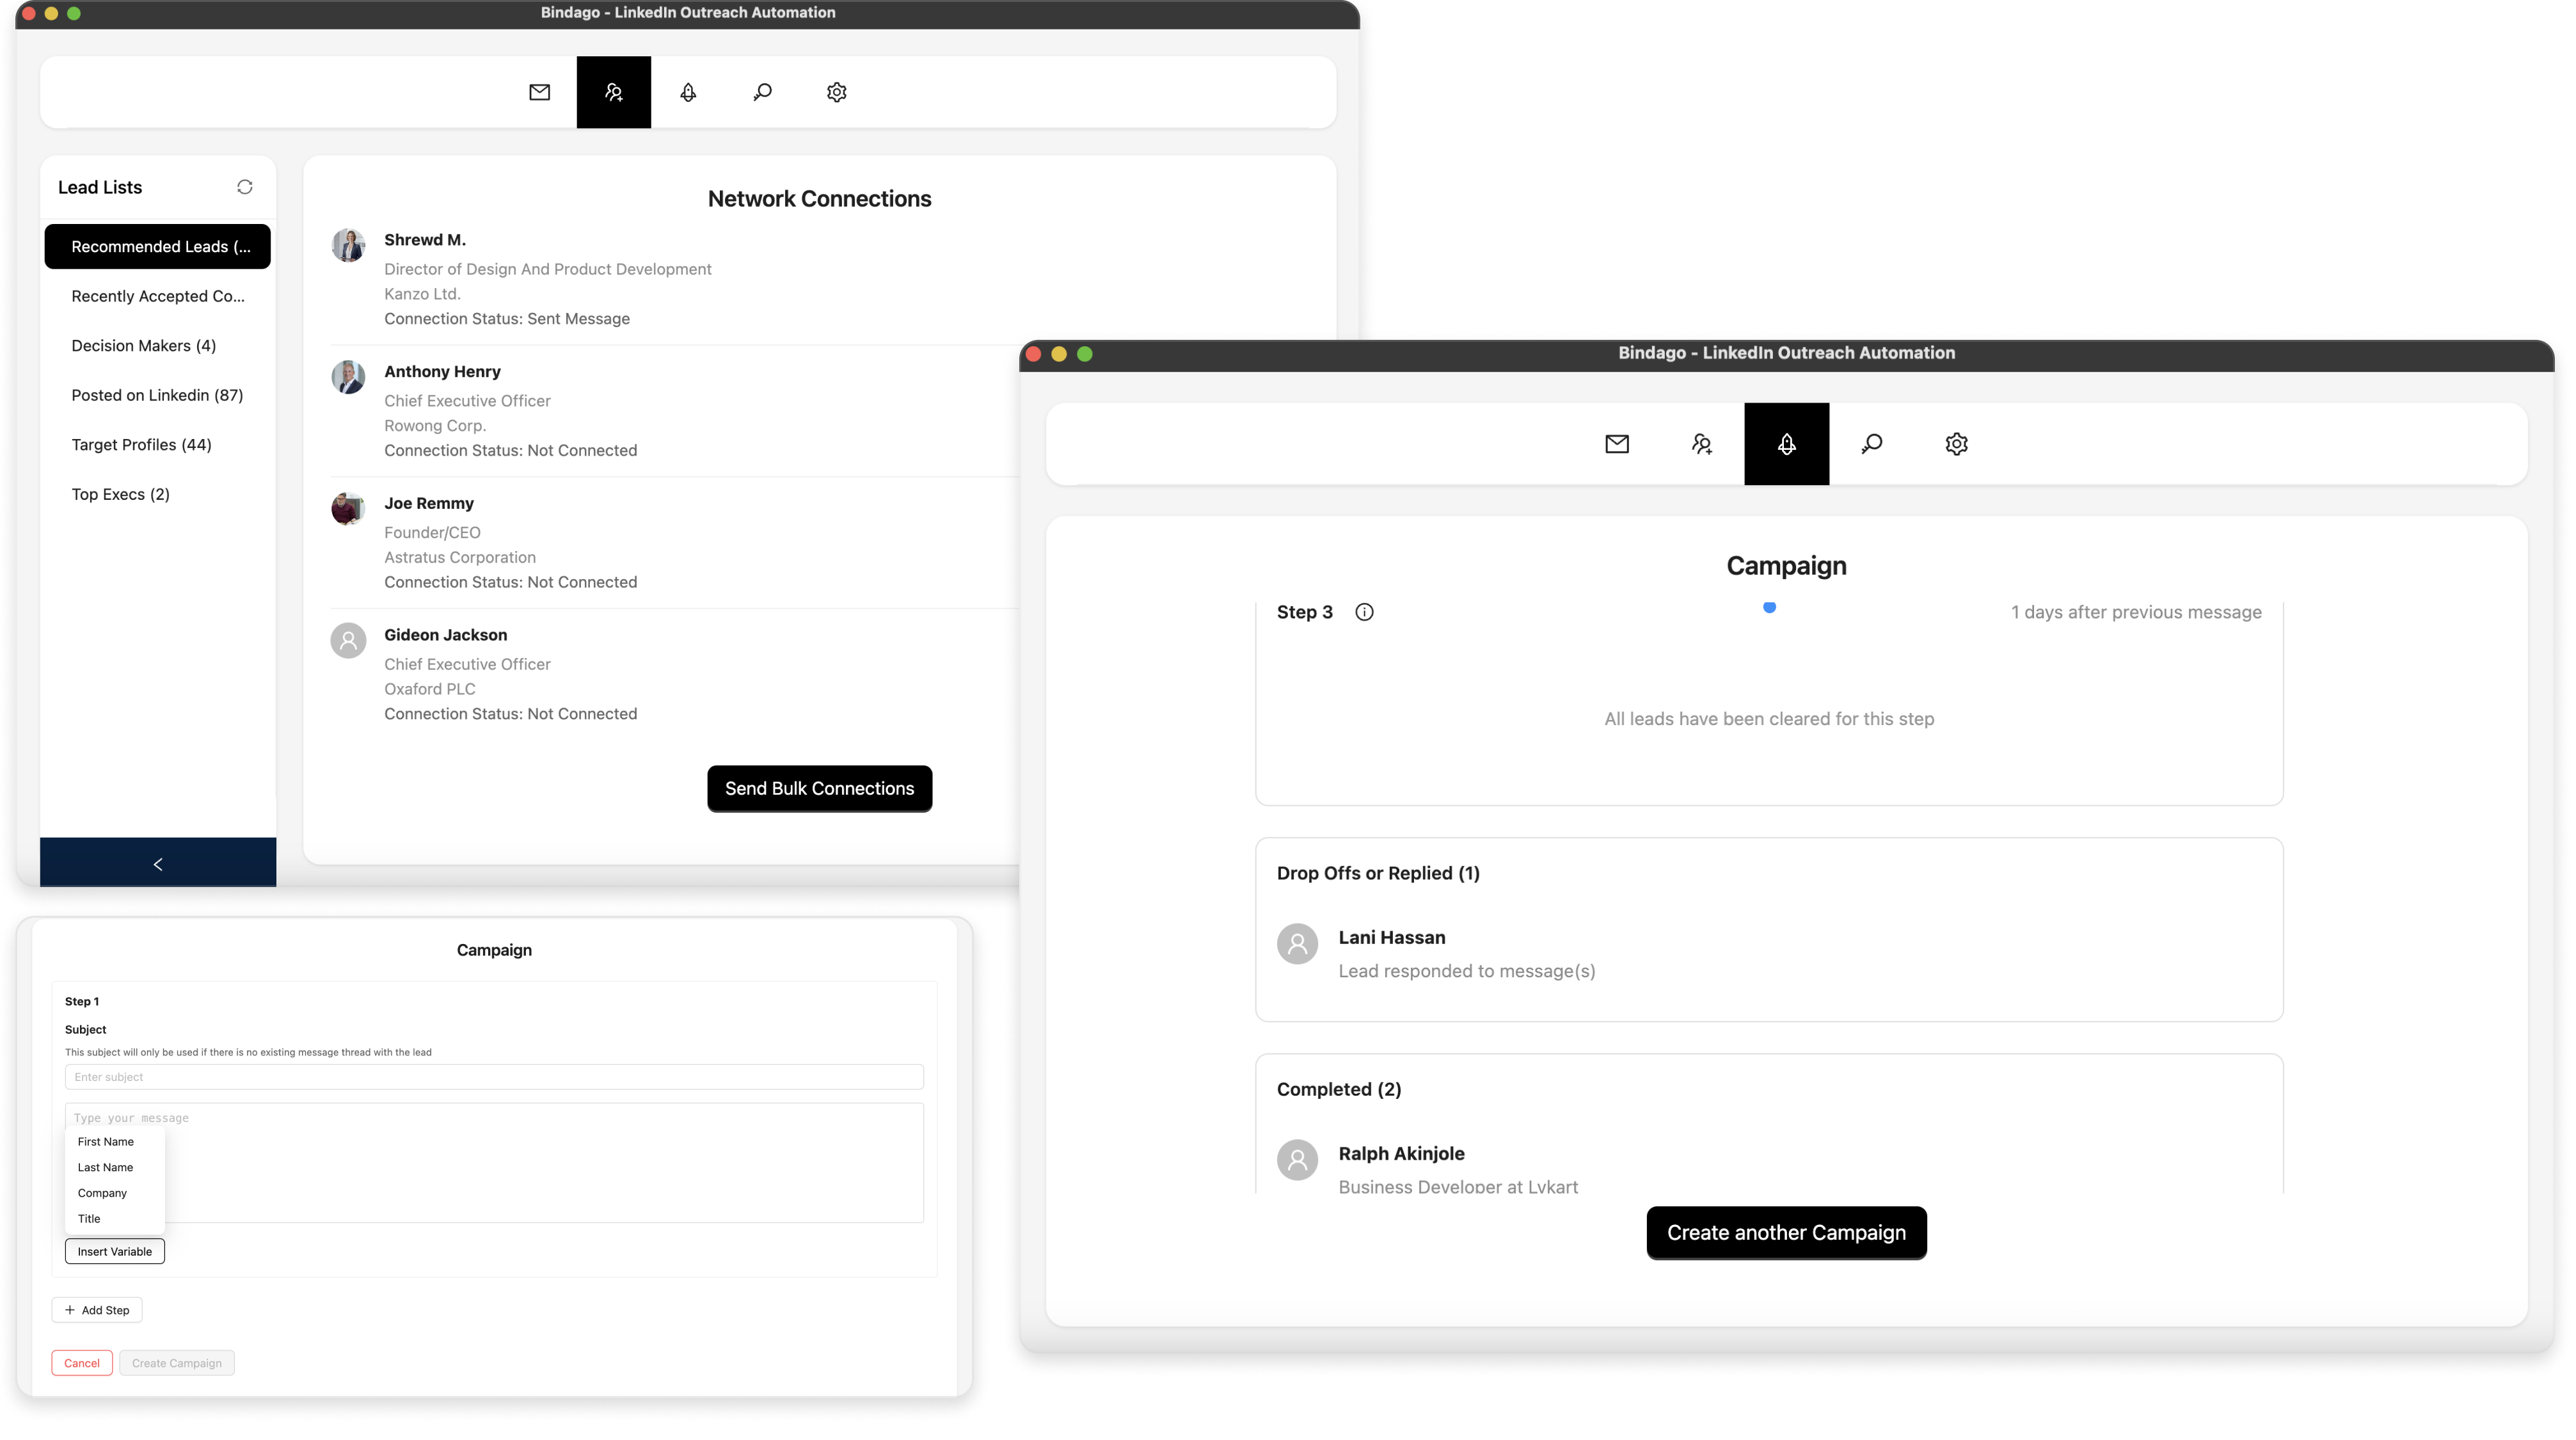
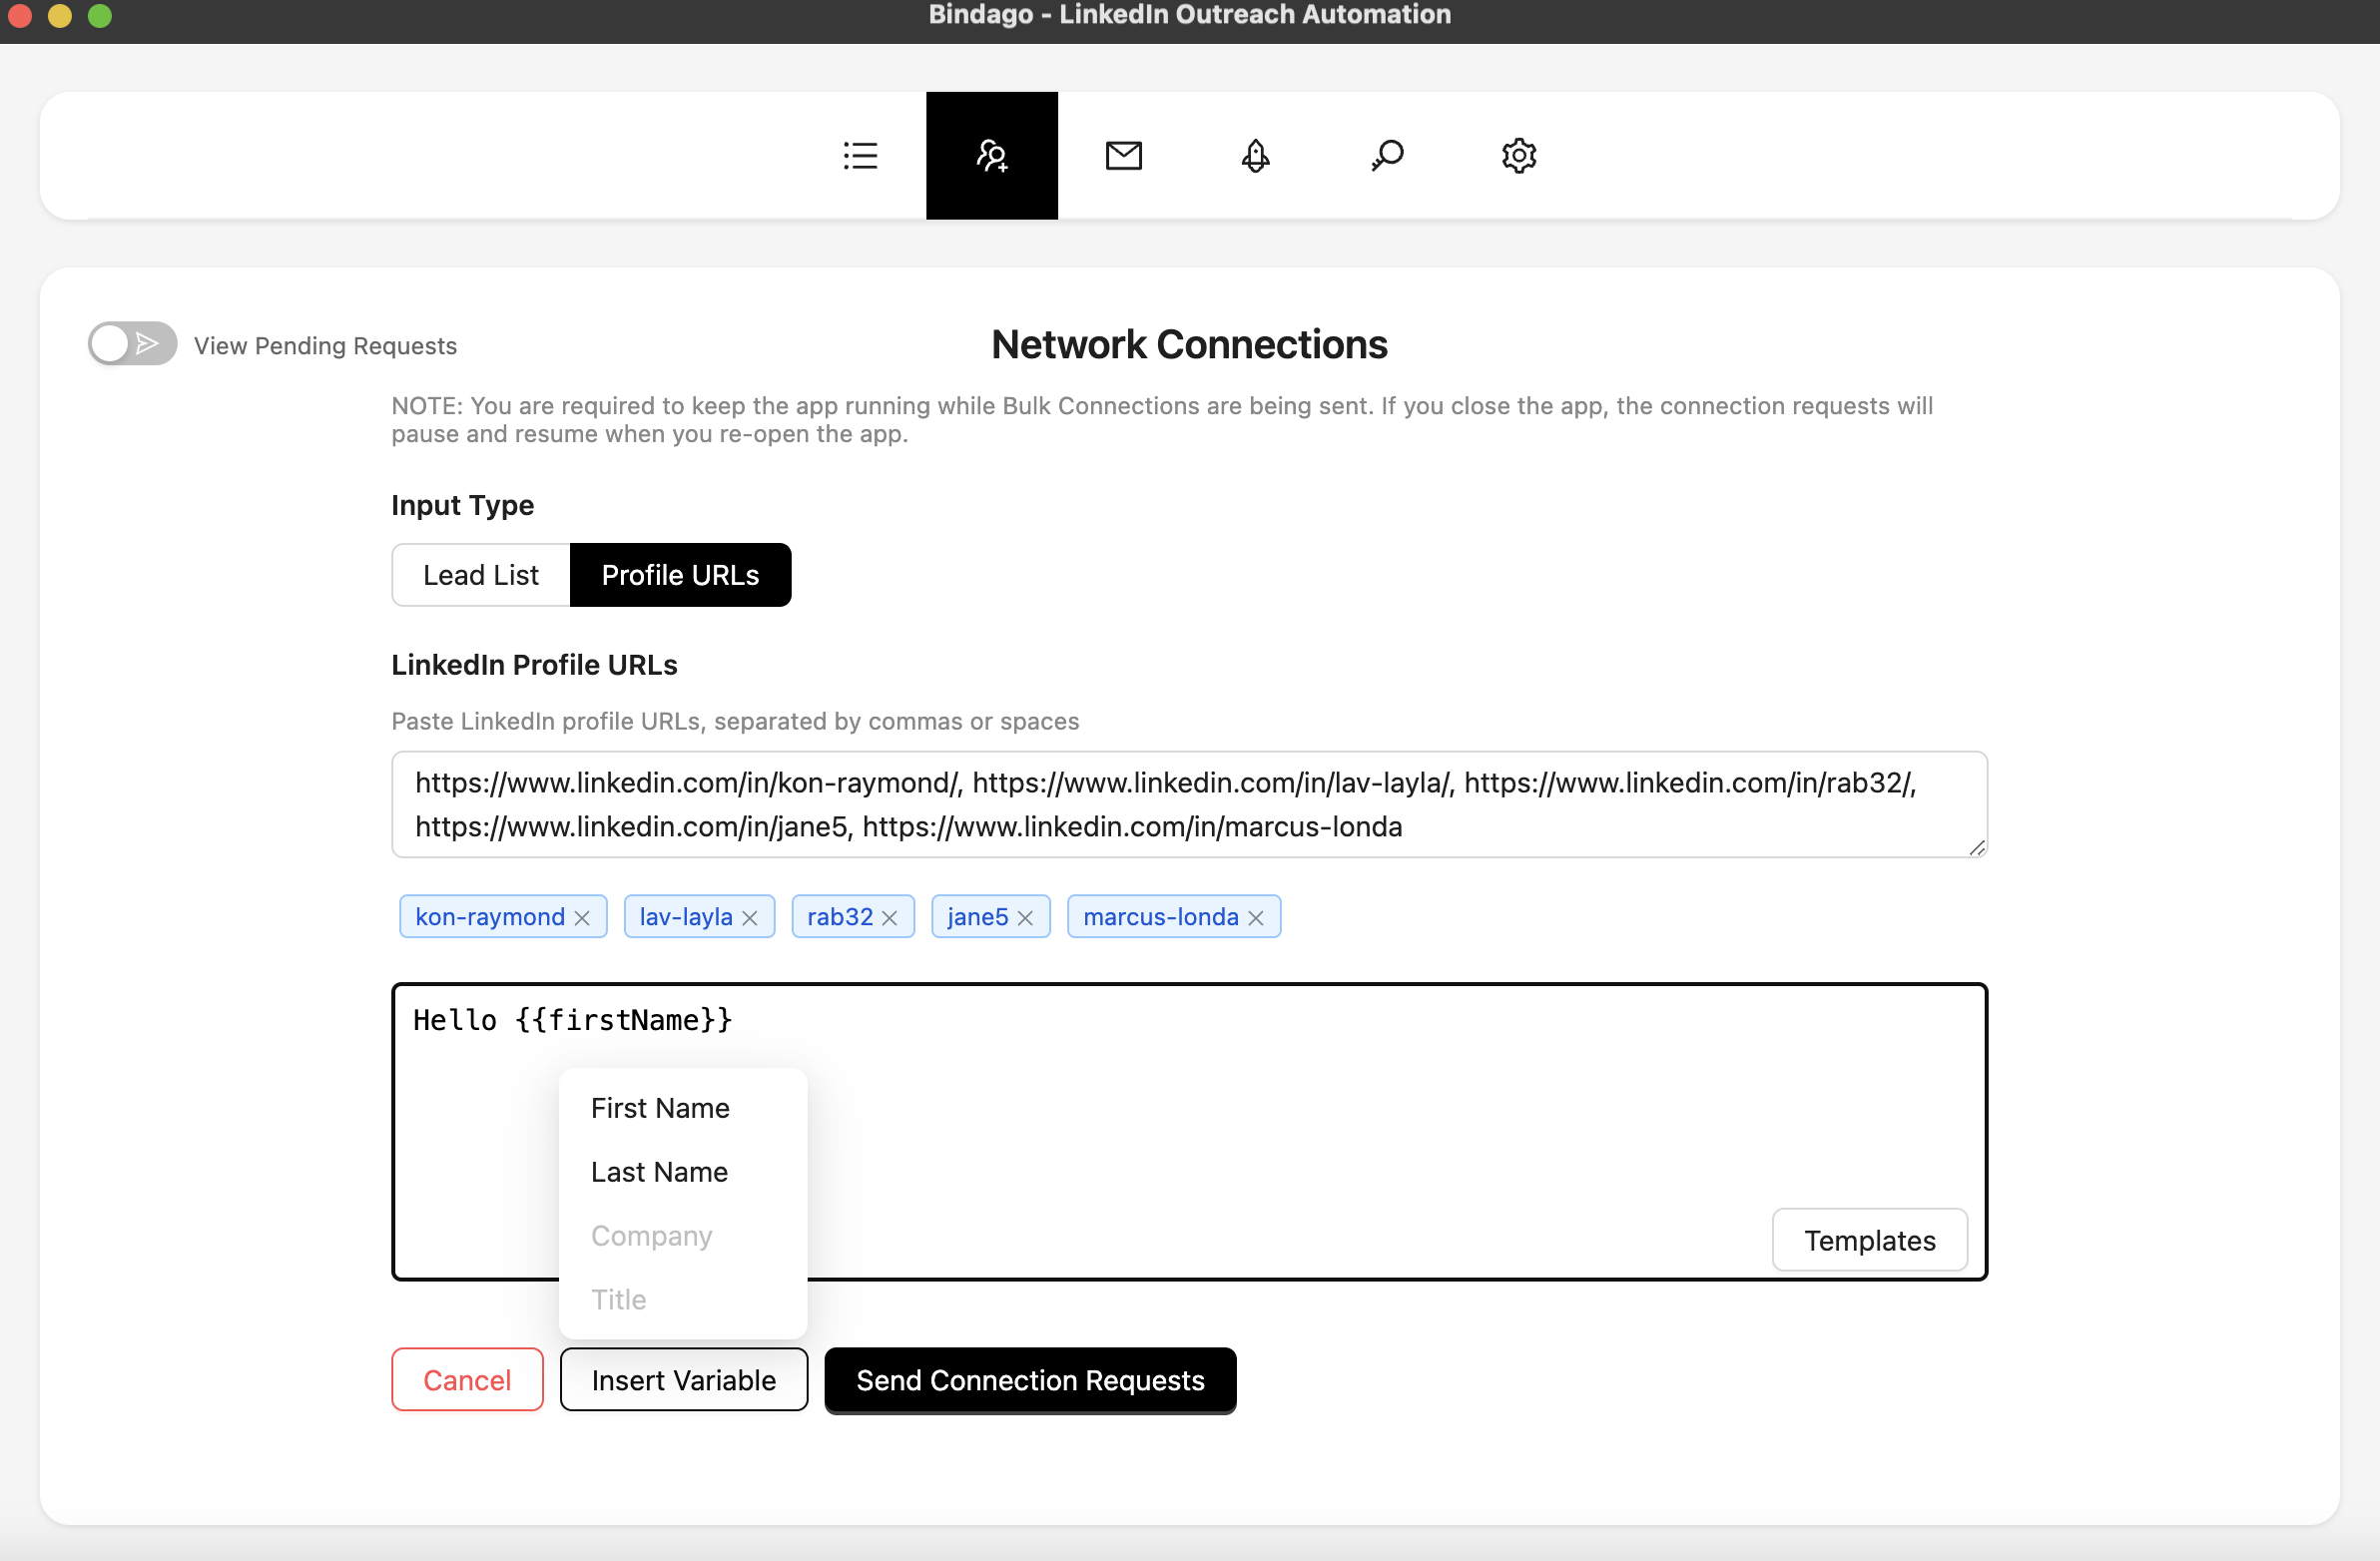
Step 4: Compose and Send Your Bulk Connection Requests
With your prospect list loaded, click the "Send Bulk Connection" button at the bottom of the screen.
This will open a composer where you can write your connection request note. This is where you combine the power of automation with personalization:
- Craft a Personalized Message: Use Bindago's personalization variables like
{{firstName}},{{lastName}},{{company}}, and{{title}}to make each message feel unique. - Click "Send Connection Requests": Once you're happy with your message, click the "Send Connection Requests" button. Bindago will begin sending your personalized request to every prospect on your list, one by one, with smart, human-like delays between each one to keep your account safe.
The campaign will run in the background, allowing you to continue with your other work.
Best Practices for Safe and Effective Automation
To get the best results and keep your LinkedIn account safe, follow these best practices:
- Personalize, Personalize, Personalize: A personalized message can double or even triple your acceptance rate. Always reference a shared interest, a mutual connection, or something from their profile.
- Respect LinkedIn's Limits: LinkedIn has a weekly limit on connection requests (around 100-200 for most accounts). Don't try to send thousands of requests in a day. A good automation tool like Bindago will have built-in safety limits and delays.
- Warm-Up Your Leads: Before sending a connection request, use Bindago's Campaigns feature to create a "warm-up" sequence. You can automatically view a prospect's profile and like one of their recent posts a few days before you send the connection request. This makes your request feel more familiar and less random.
- Withdraw Old Pending Invitations: Don't let your pending invitations pile up. Regularly use a tool like Bindago to withdraw old pending invitations in bulk. This keeps your account in good standing with LinkedIn.
Conclusion: Build Your Network on Autopilot
Automating your LinkedIn connection requests is a game-changer for anyone serious about building a professional network. It allows you to scale your outreach, save countless hours, and focus on what matters most: having meaningful conversations with the new connections you've made.
By combining the precise targeting of LinkedIn search with the secure and efficient automation of Bindago, you can build a powerful, predictable system for network growth.
Ready to supercharge your networking? Download Bindago today and start your 10-day free trial.