How To Withdraw Pending LinkedIn Invitations In Bulk
LinkedIn is a powerful tool for professional networking, but managing your outreach requires attention to detail. Over time, you might accumulate a large number of pending connection requests that haven't been accepted. These lingering invitations can clutter your network management and sometimes even affect your ability to send new requests if you hit LinkedIn's limits.
This guide will walk you through how to use the Bindago application to quickly and efficiently withdraw multiple pending LinkedIn invitations at once, helping you maintain a clean and effective networking presence.
Why Manage Pending Invitations?
While sending connection requests is key to expanding your network, having too many unanswered invitations can be problematic. LinkedIn imposes limits on the number of pending invitations a user can have. Regularly withdrawing old or irrelevant requests can:
- Prevent hitting invitation limits: Ensures you can continue sending new, targeted requests.
- Maintain network relevance: Removes connections that are no longer a priority.
- Keep your outreach organized: Provides a clearer view of your active connection efforts.
Manually withdrawing invitations one by one on LinkedIn is tedious. Bindago offers a streamlined solution.
Getting Started with Bindago
To use this feature, you'll need:
- An active LinkedIn account
- The Bindago application installed on your computer
Setting Up Bindago
If you haven't already, install Bindago from bindago.com and log in:
- Launch the Bindago application.
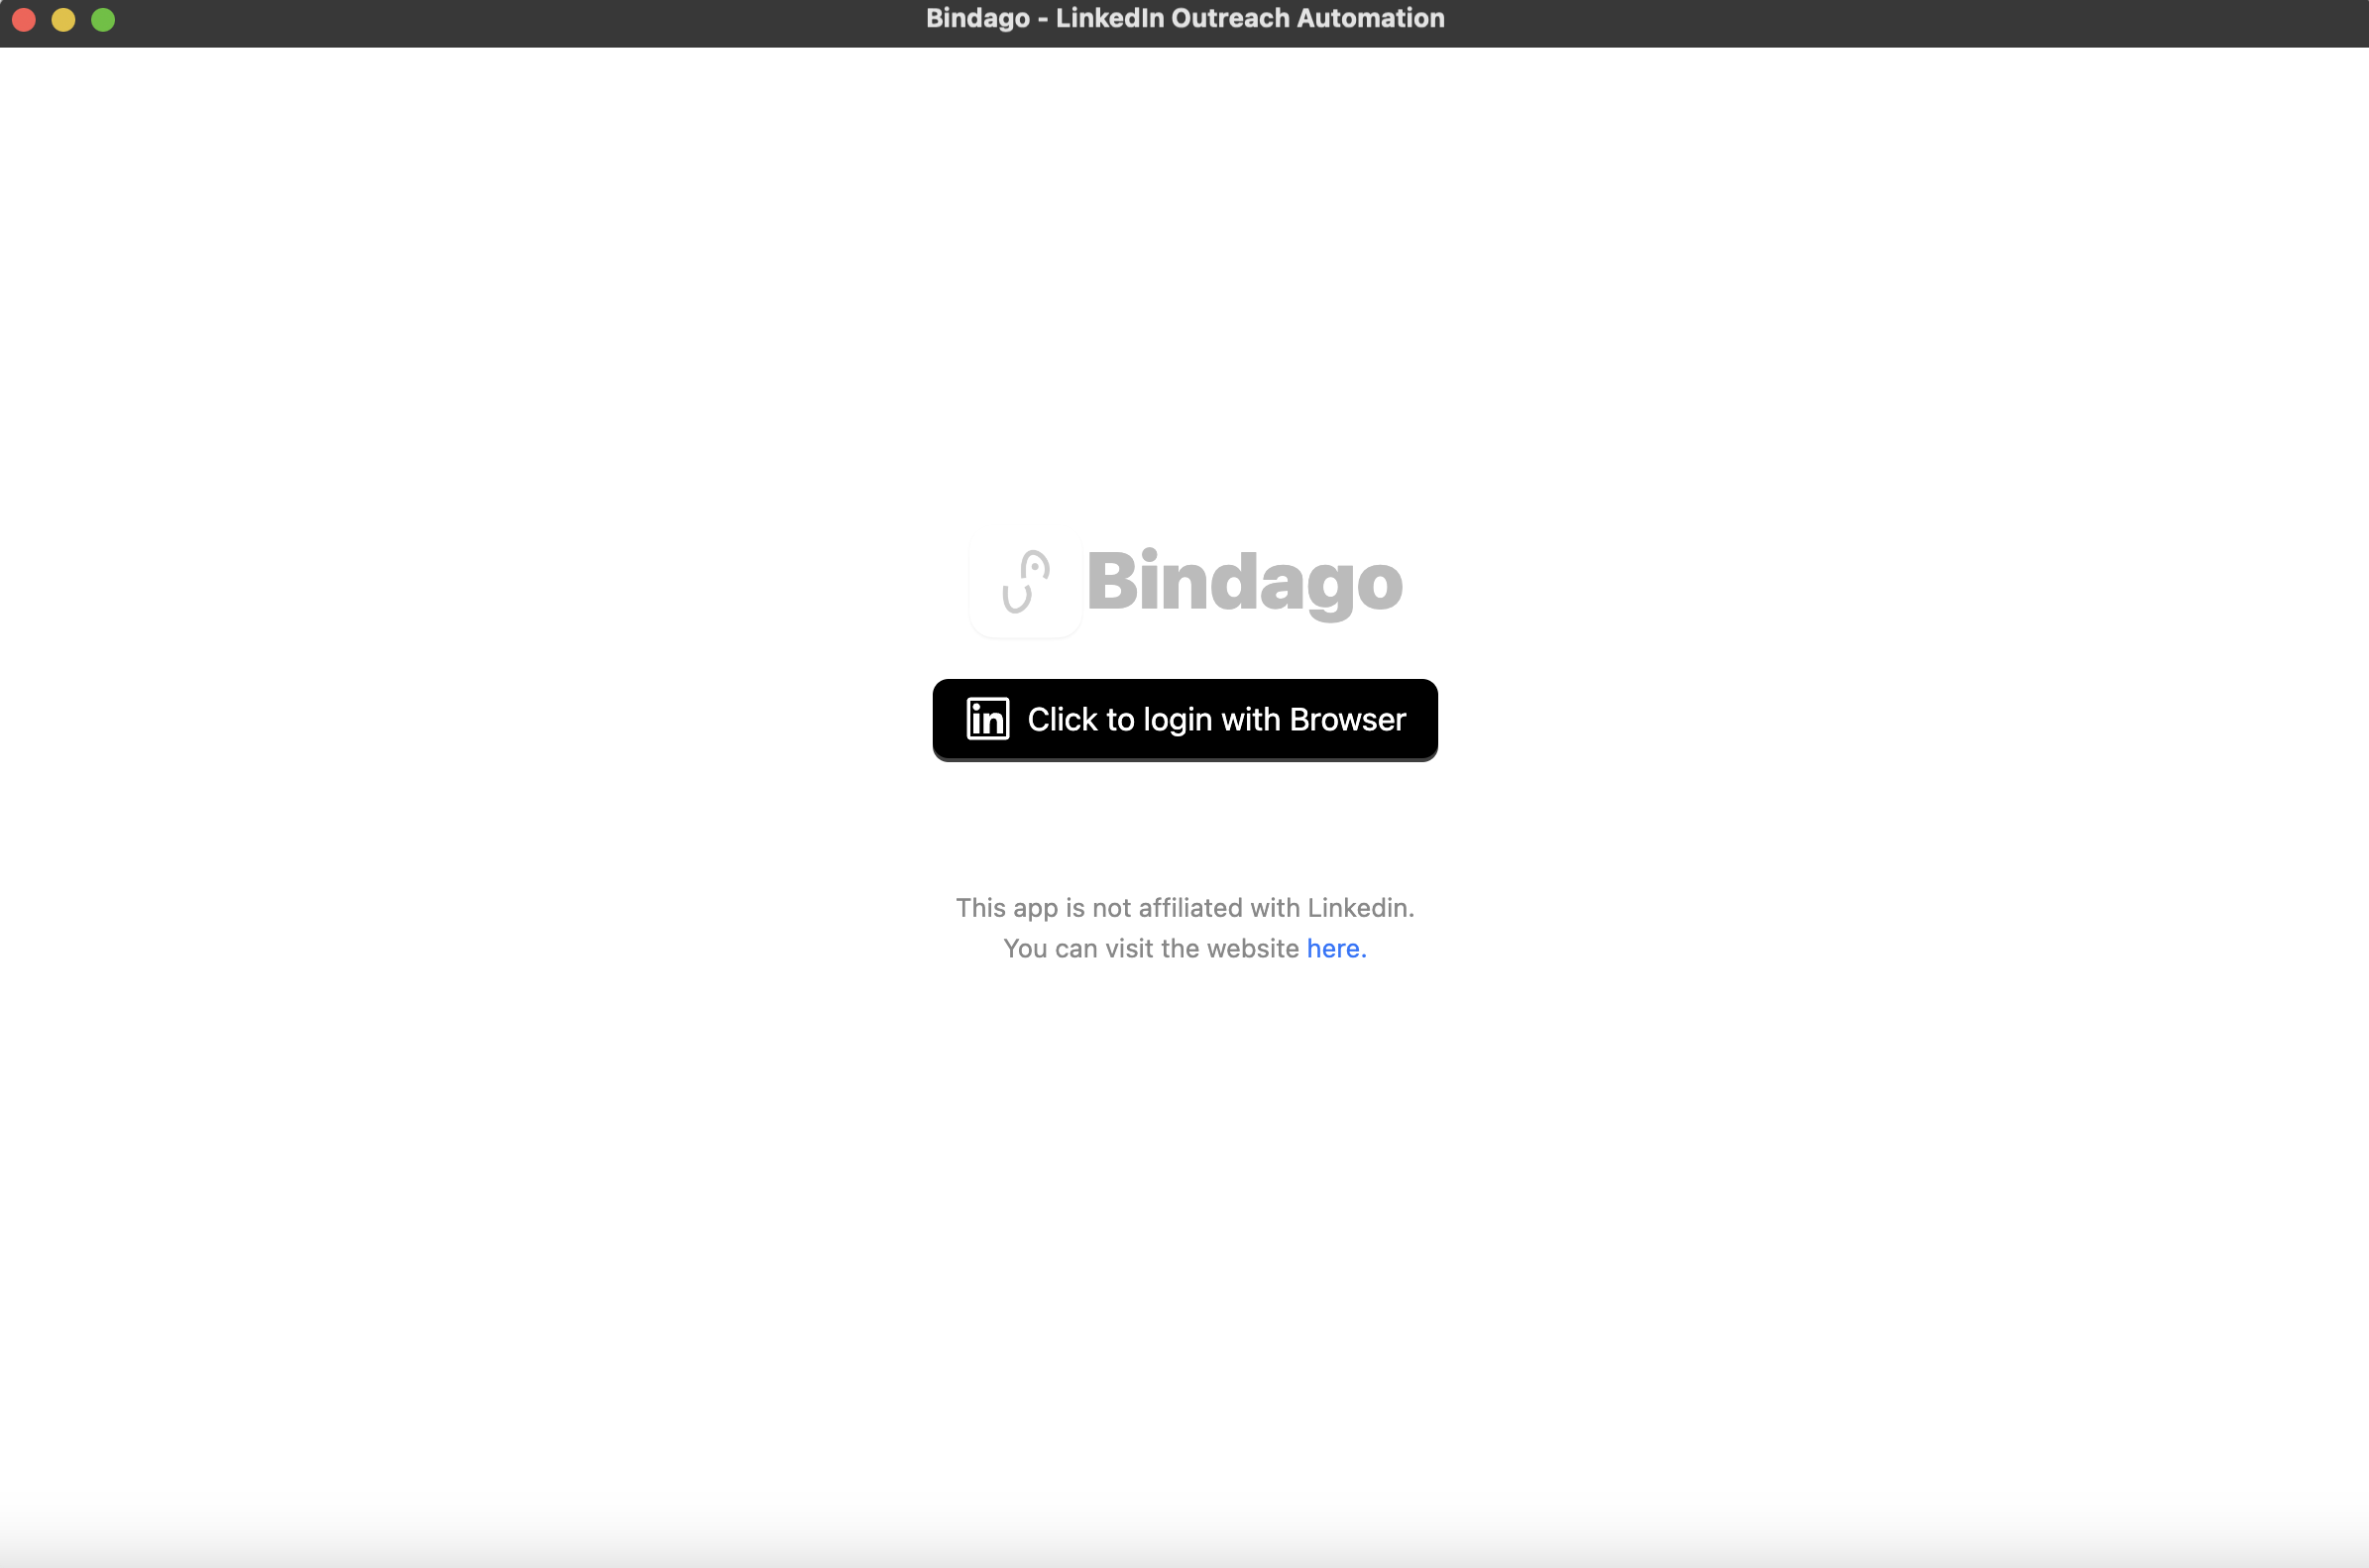
- Click the "Click to login with Browser" button.
- Log in to your LinkedIn account via the browser window that opens.
Accessing Pending Invitations
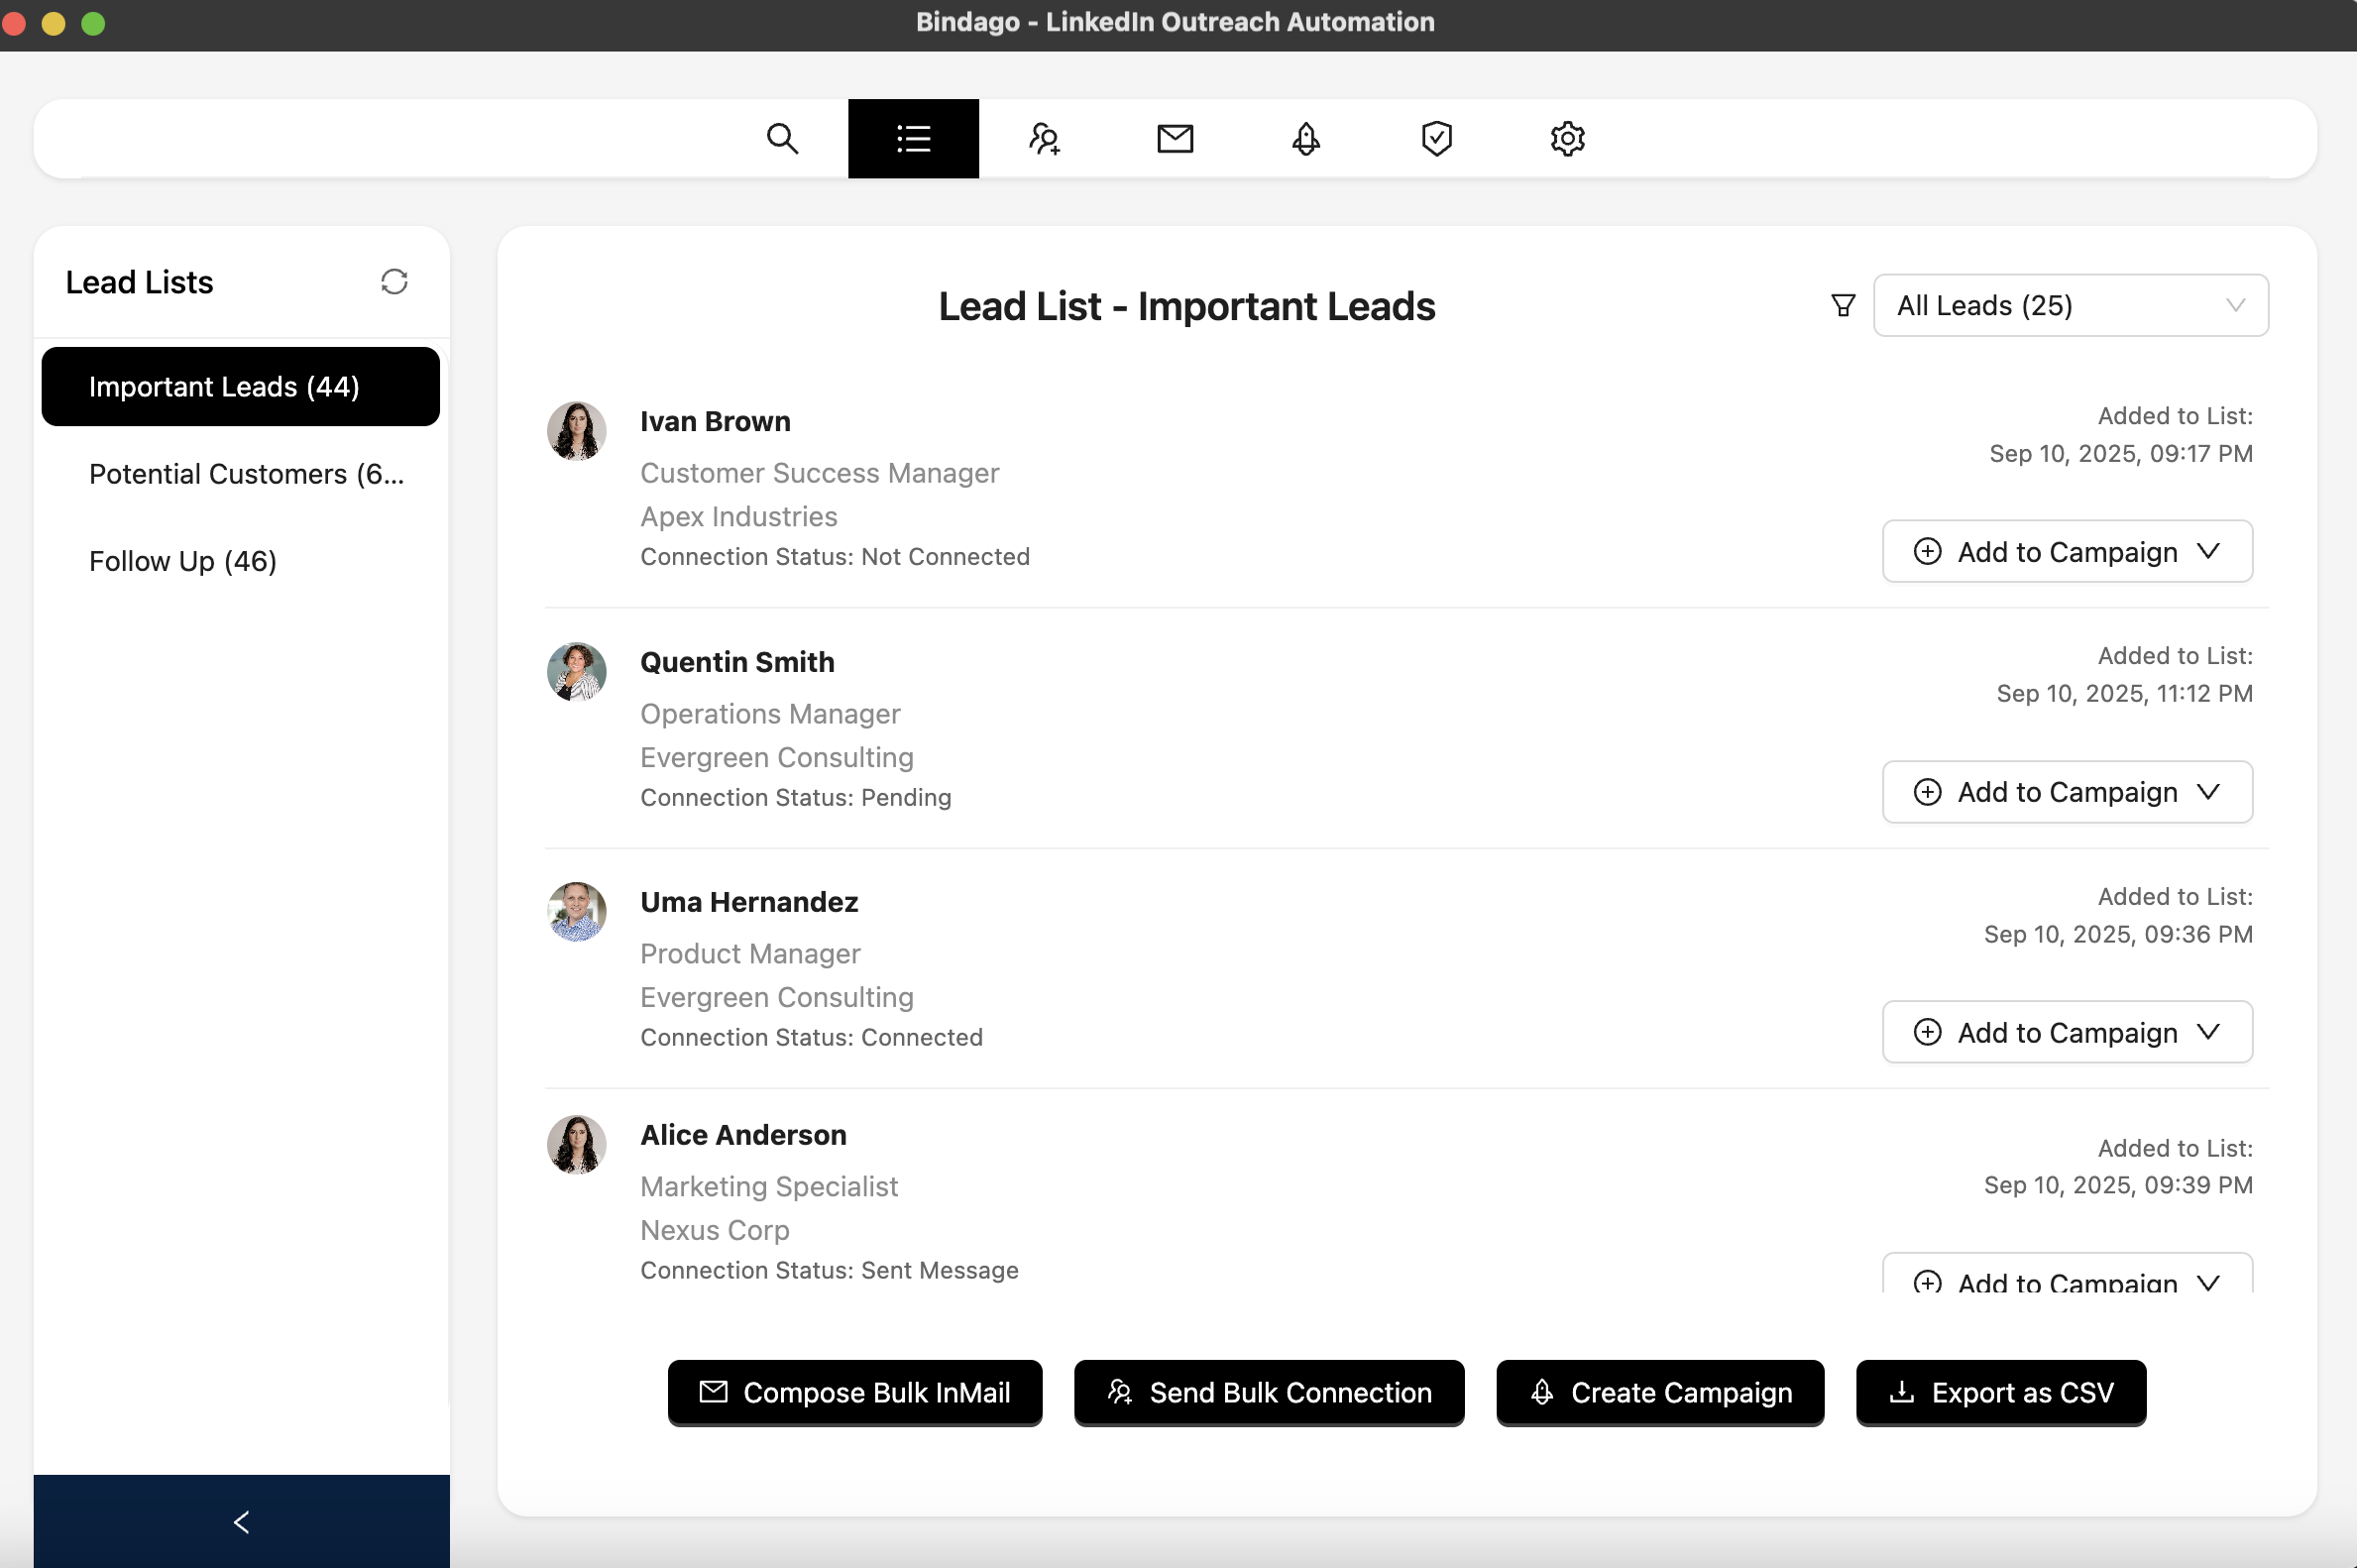
Once logged in and your account data is loaded you will see the screen display as in the screenshot below:
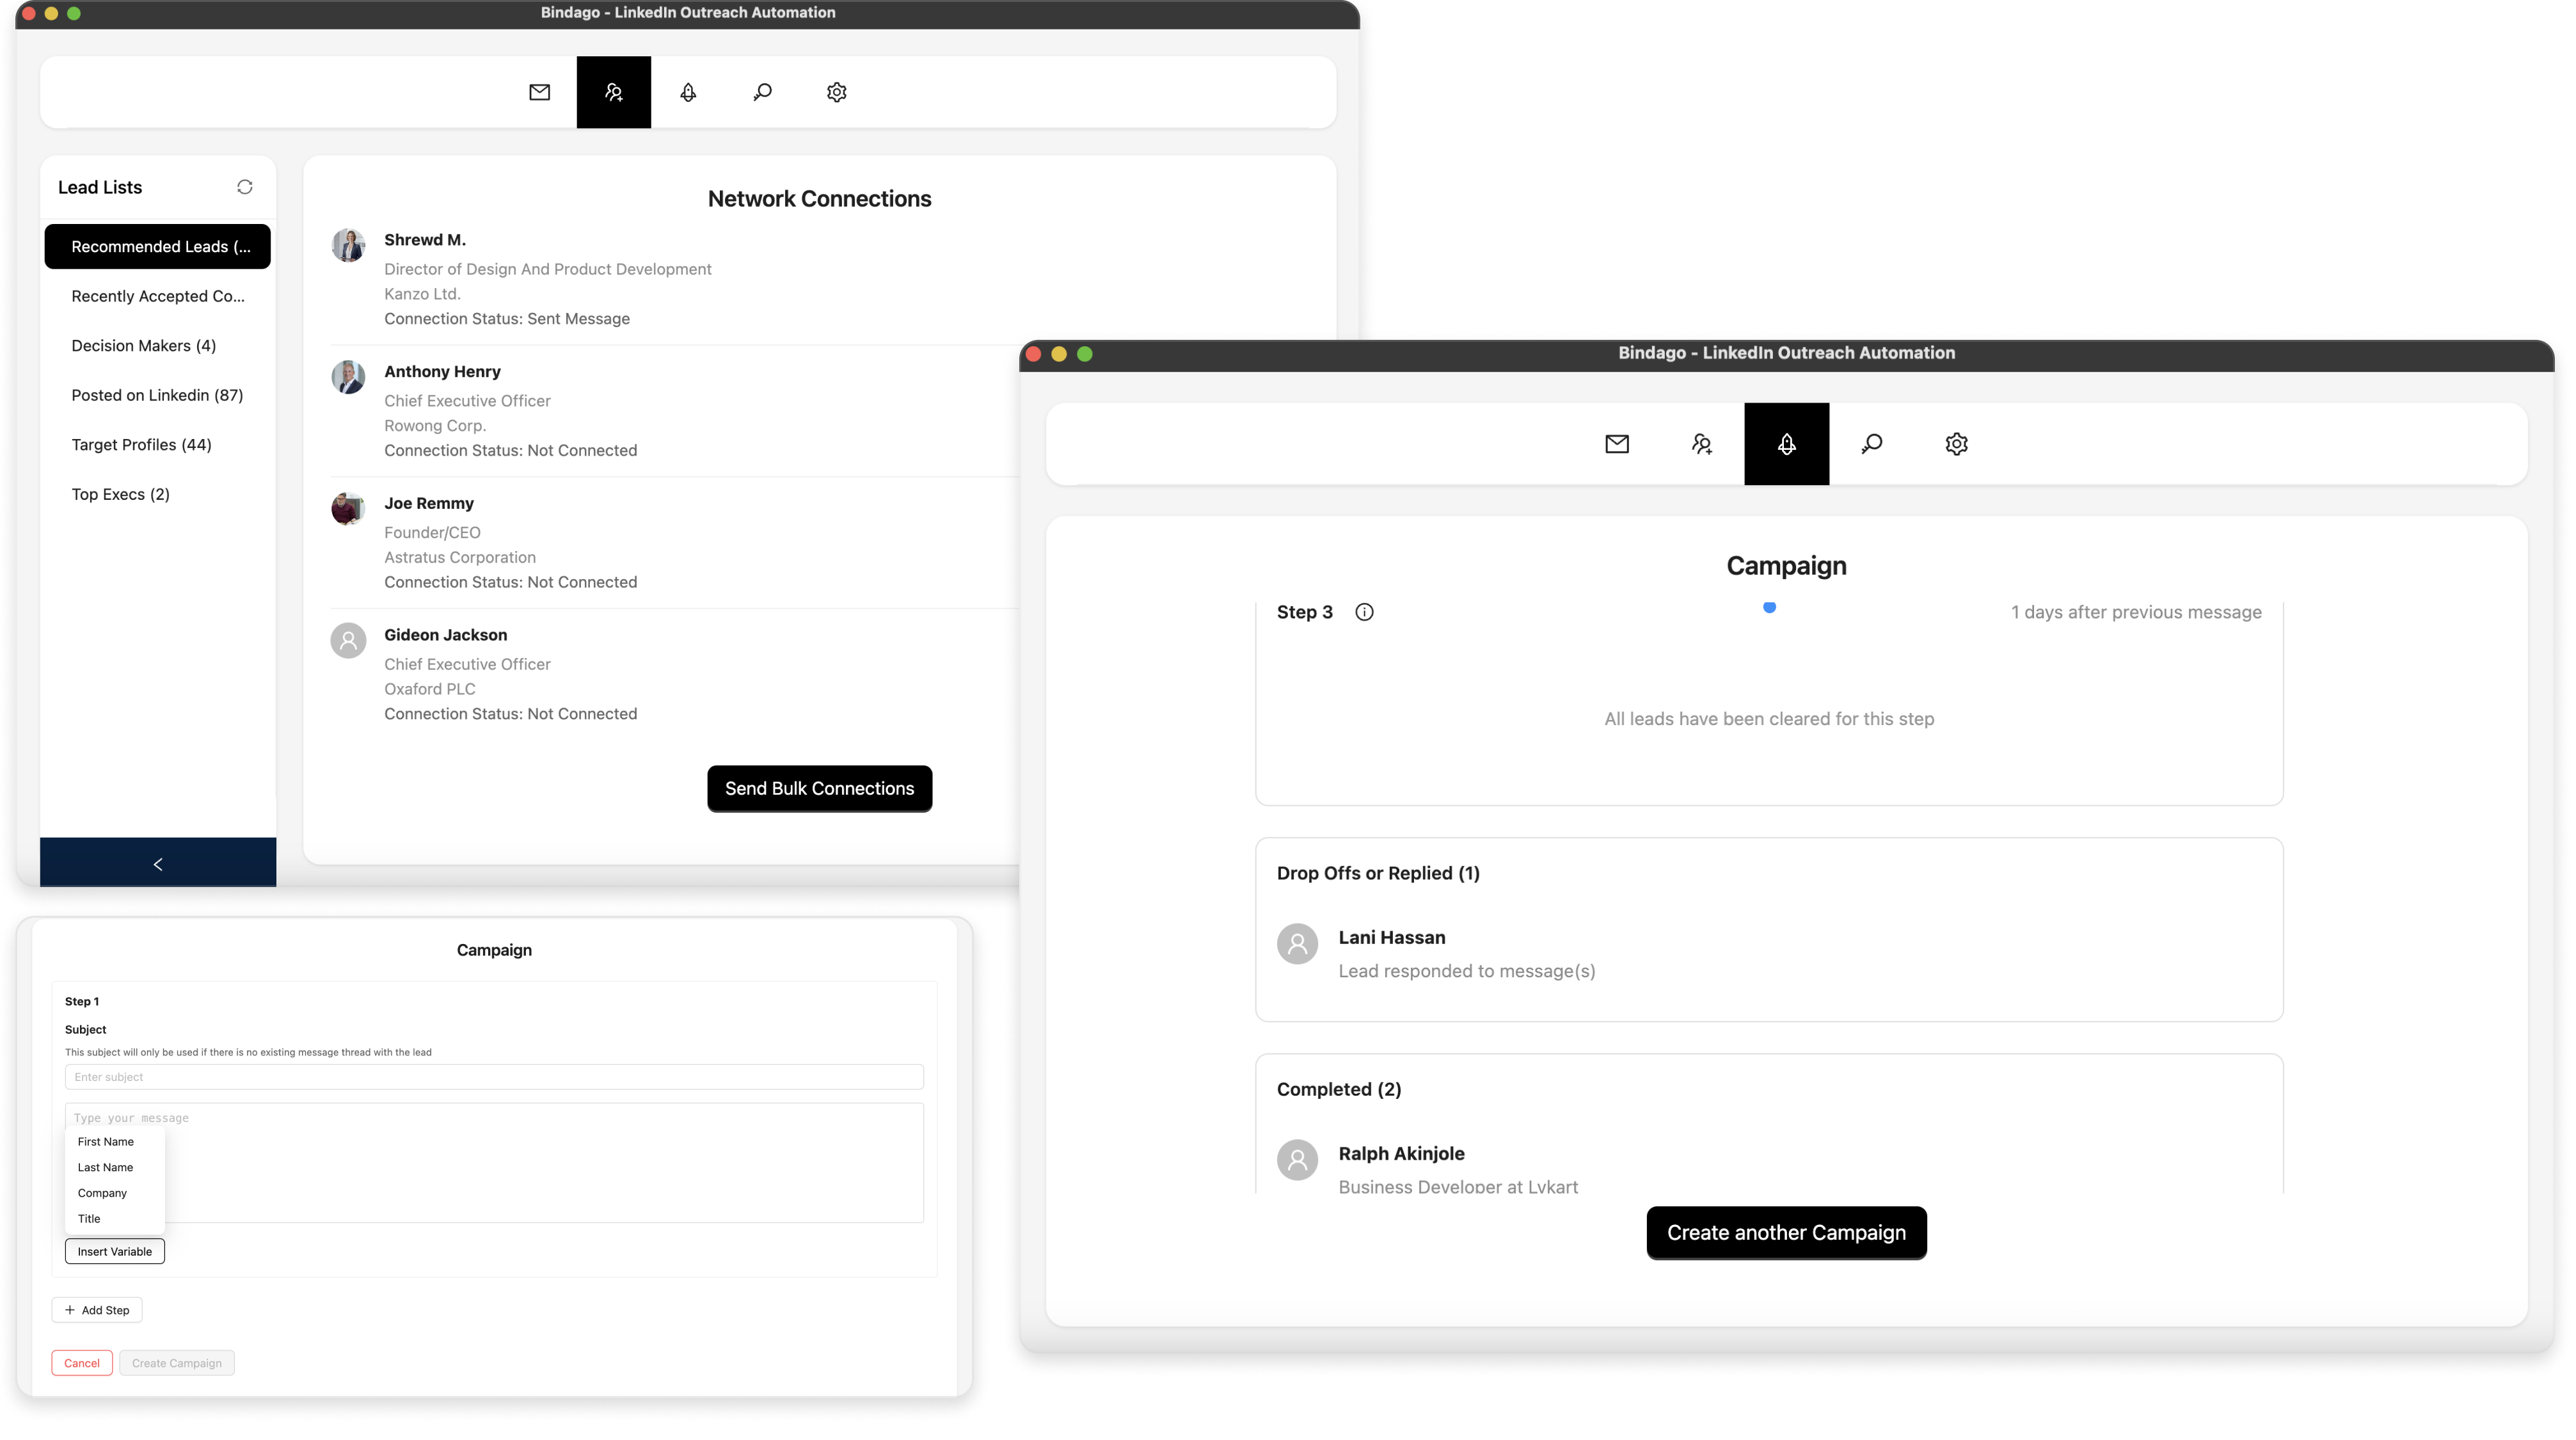
- Navigate to the "Network Connections" section using the top menu. You can do this by hovering over each of the icons in the top menu and selecting the "Network Connections" option.
- You will see a form page appear but you can ignore the form as it is not needed for our objective. On the top left of the Network Connections view, locate the toggle switch that says "View Pending Requests".
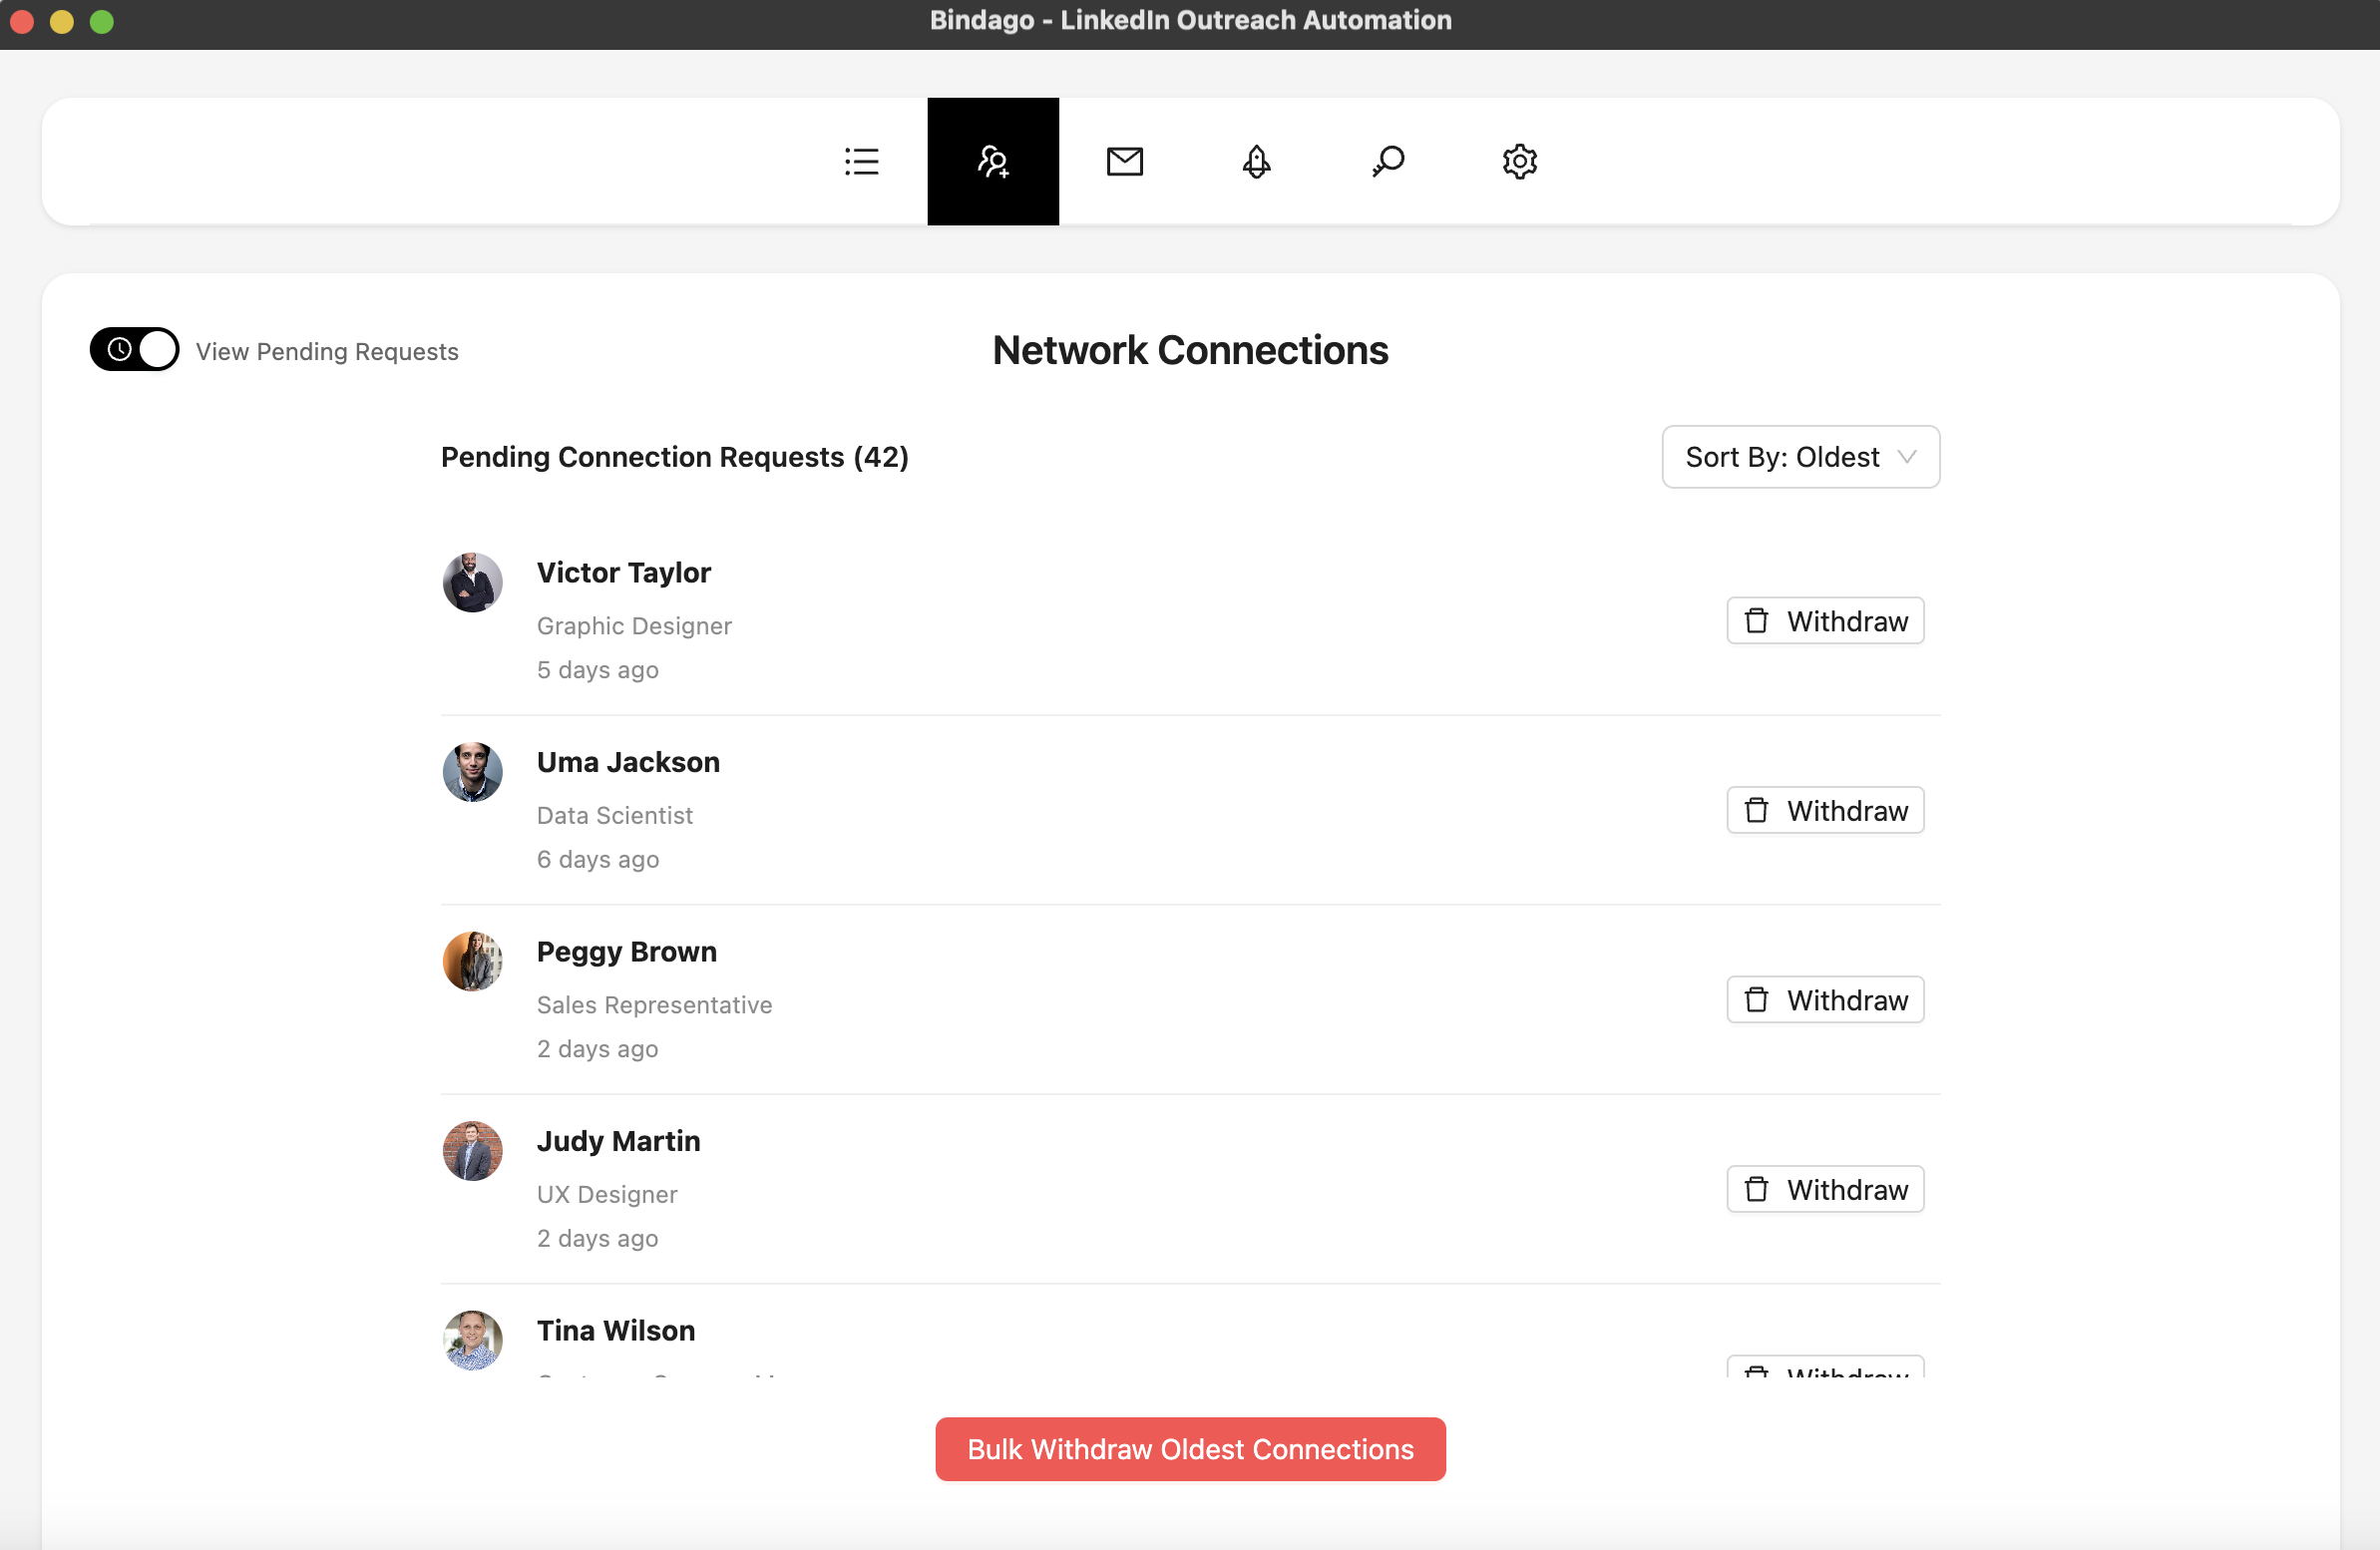
- Click the switch to change the view to list of pending LinkedIn connection requests as in the screenshot below.
Withdrawing Invitations in Bulk
After switching to the pending requests view:
- Bindago will display a list of all your currently pending sent connection requests. It will sort them by the oldest first. This is a rare feature that is not available on the LinkedIn website itself. With this feature you can already see the oldest pending requests at the top of the list which you are likely to withdraw first.
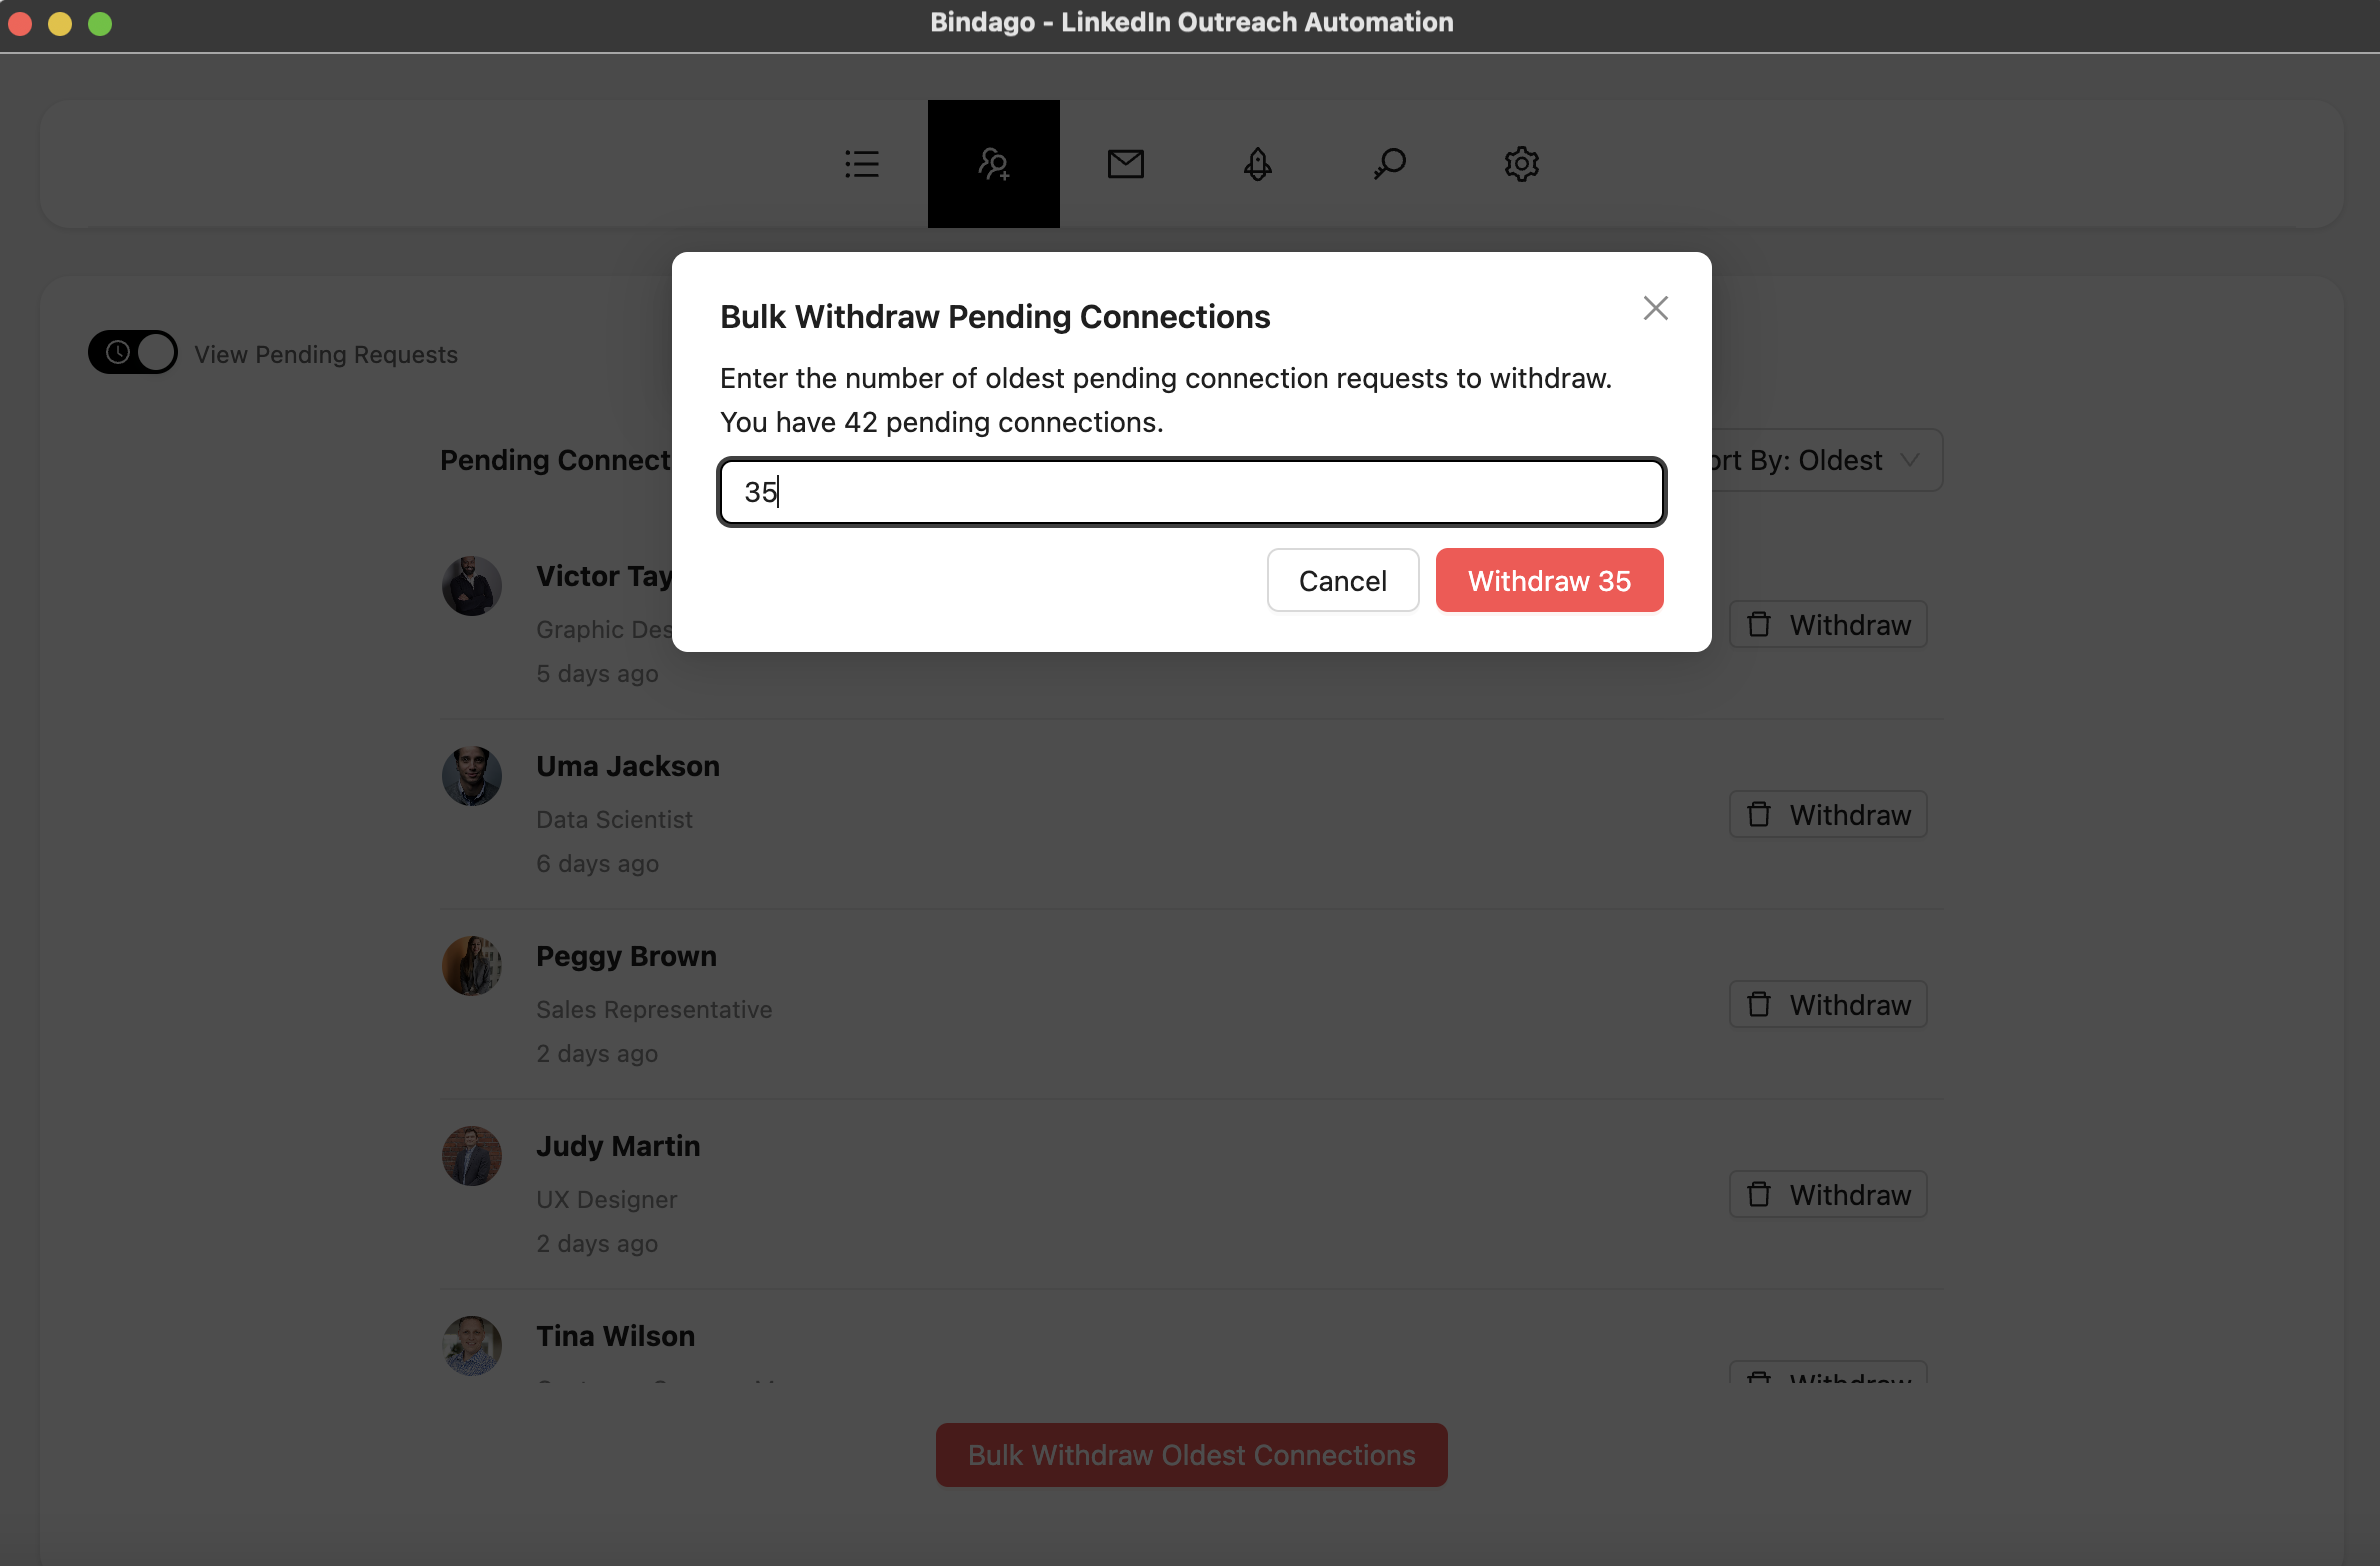
- Click the "Bulk Withdraw Oldest Connections" button located at the bottom of the page as in the screenshot above.
- Once you click the button, a prompt will appear asking you to enter the number of pending invitations you wish to withdraw. Providing this number means Bindago will withdraw only that number of pending requests starting from the oldest.
- Enter the number and click the "Confirm" button.
Monitoring the Withdrawal Process
- Bindago will begin withdrawing the pending invitations in the background.
- The process is designed to be safe and respects LinkedIn's guidelines, withdrawing invitations sequentially with appropriate delays.
- You can observe the progress as invitations are removed from the list.
- Ensure the Bindago app remains running until the process completes.
Bindago's Smart Withdrawal Approach
Similar to sending requests, Bindago handles bulk withdrawal intelligently:
- Withdrawals are processed one by one, not all at once.
- Delays are automatically inserted between withdrawals to mimic natural user behavior and avoid triggering LinkedIn's security mechanisms.
- This ensures the process is safe for your account.
Conclusion
Managing your LinkedIn network effectively involves not just sending invitations but also cleaning up pending requests. Bindago simplifies this often-overlooked task by allowing you to withdraw multiple pending invitations in bulk with just a few clicks.
By regularly managing your pending requests using Bindago, you can maintain a healthier network, stay within LinkedIn's limits, and focus your outreach efforts more effectively.