How to Automate LinkedIn InMails with Bindago
LinkedIn InMail is one of the most powerful tools for B2B sales, recruiting, and networking. It allows you to send a direct message to any LinkedIn member, even if you're not connected to them. With response rates often 3x higher than cold email, a well-crafted InMail campaign can be a game-changer for your pipeline.
However, the power of InMail is often limited by the sheer amount of time it takes to send personalized messages one by one. Manually navigating to each profile, writing a unique message, and clicking "send" is not a scalable strategy.
This guide will show you how to automate your LinkedIn InMail outreach using Bindago, allowing you to send personalized messages to hundreds of targeted prospects, saving you hours of manual work and dramatically increasing your lead generation efforts.
What is LinkedIn InMail and Why Should You Use It?
InMail is a premium LinkedIn feature available with Sales Navigator, Recruiter, and Premium Career accounts. It gives you a monthly allotment of credits that you can use to message people outside of your network.
Why InMail is so effective:
- High Visibility: An InMail arrives in a prospect's primary LinkedIn inbox, a less crowded space than a typical email inbox.
- High Response Rates: Because it's a native LinkedIn feature, InMail feels more personal and credible, leading to significantly higher open and response rates.
- Direct Access: It allows you to bypass gatekeepers and reach high-level decision-makers directly.
The challenge is that sending InMails manually is incredibly inefficient. To truly leverage the power of InMail, you need to automate the process.
Automating Your InMail Campaigns with Bindago
Bindago is a powerful desktop application that helps you automate your LinkedIn outreach safely and effectively. One of its core features is the ability to send personalized InMail messages in bulk to your saved lead lists in Sales Navigator.
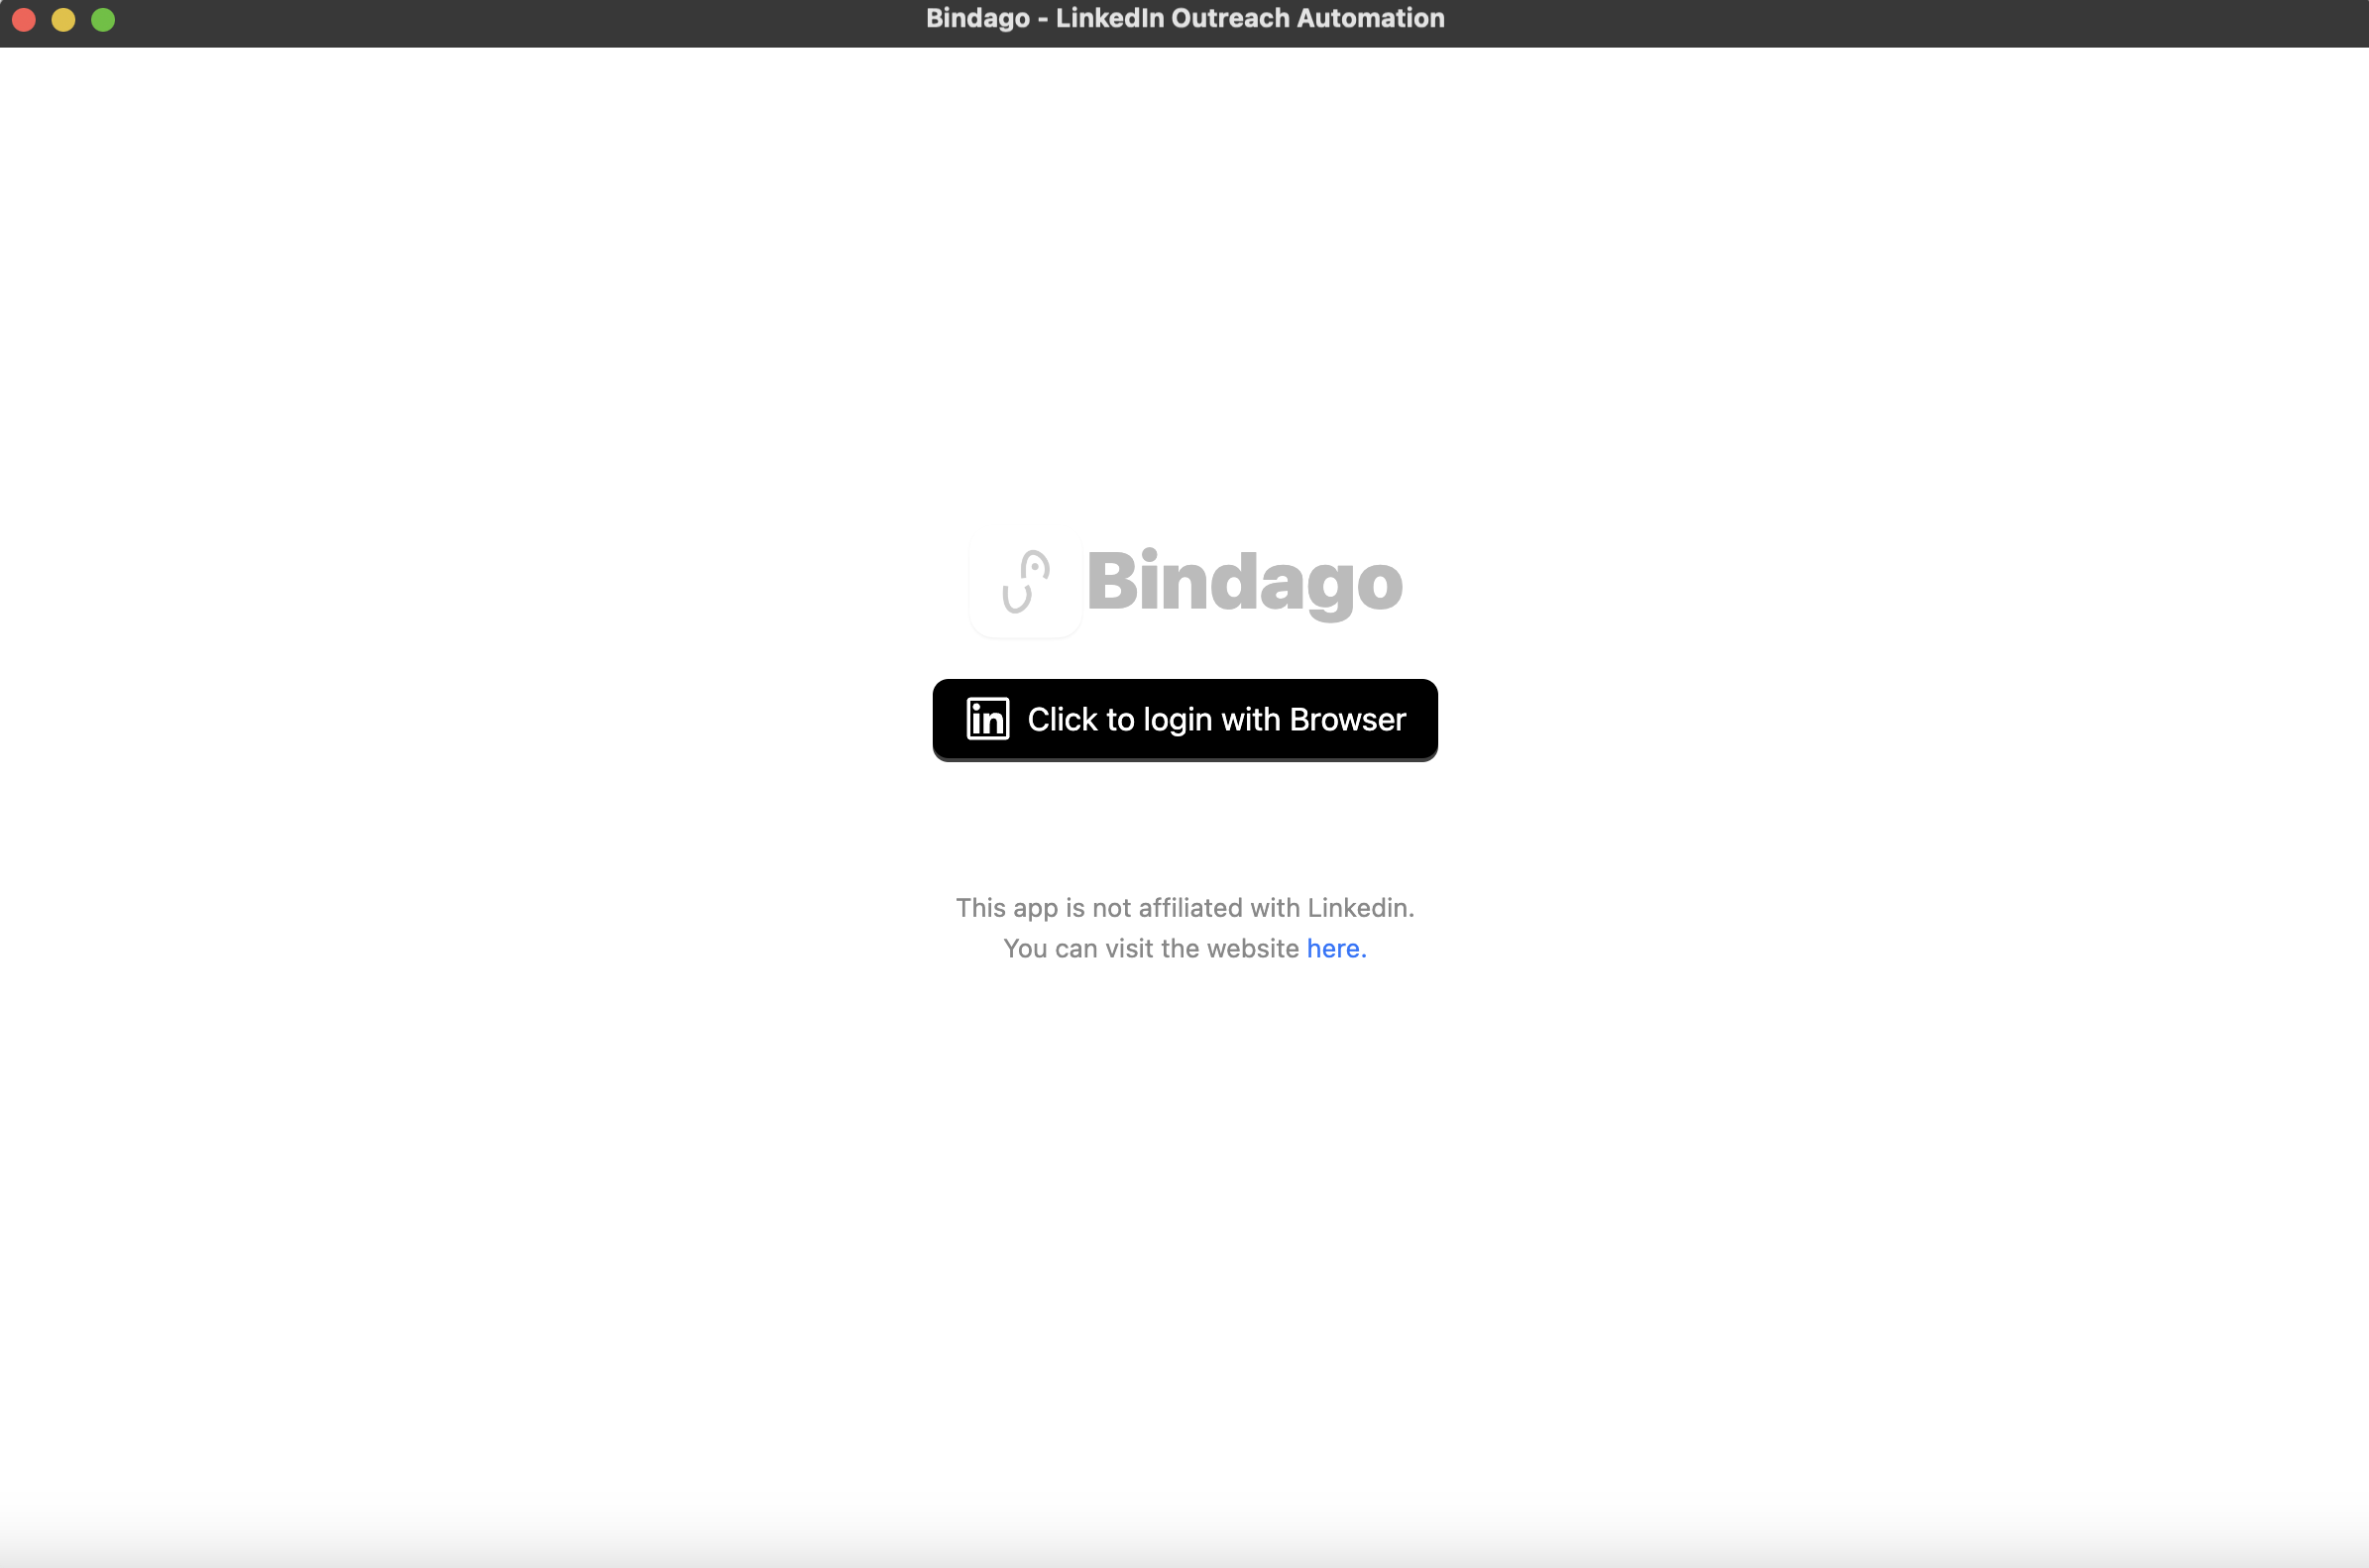
Step 1: Install Bindago and Log In
First, download the Bindago application for your operating system (Windows, macOS, or Linux). After installing, launch the app and log in to your LinkedIn account. Because Bindago is a desktop app, your credentials remain securely on your computer and are never shared with a third-party server.
Step 2: Build Your Target List in Sales Navigator
Your campaign is only as good as your list. Before using Bindago, go to LinkedIn Sales Navigator and build a hyper-targeted lead list of your ideal prospects. Use advanced filters like industry, company size, job title, and seniority to ensure your list is highly relevant. Save this list in Sales Navigator.
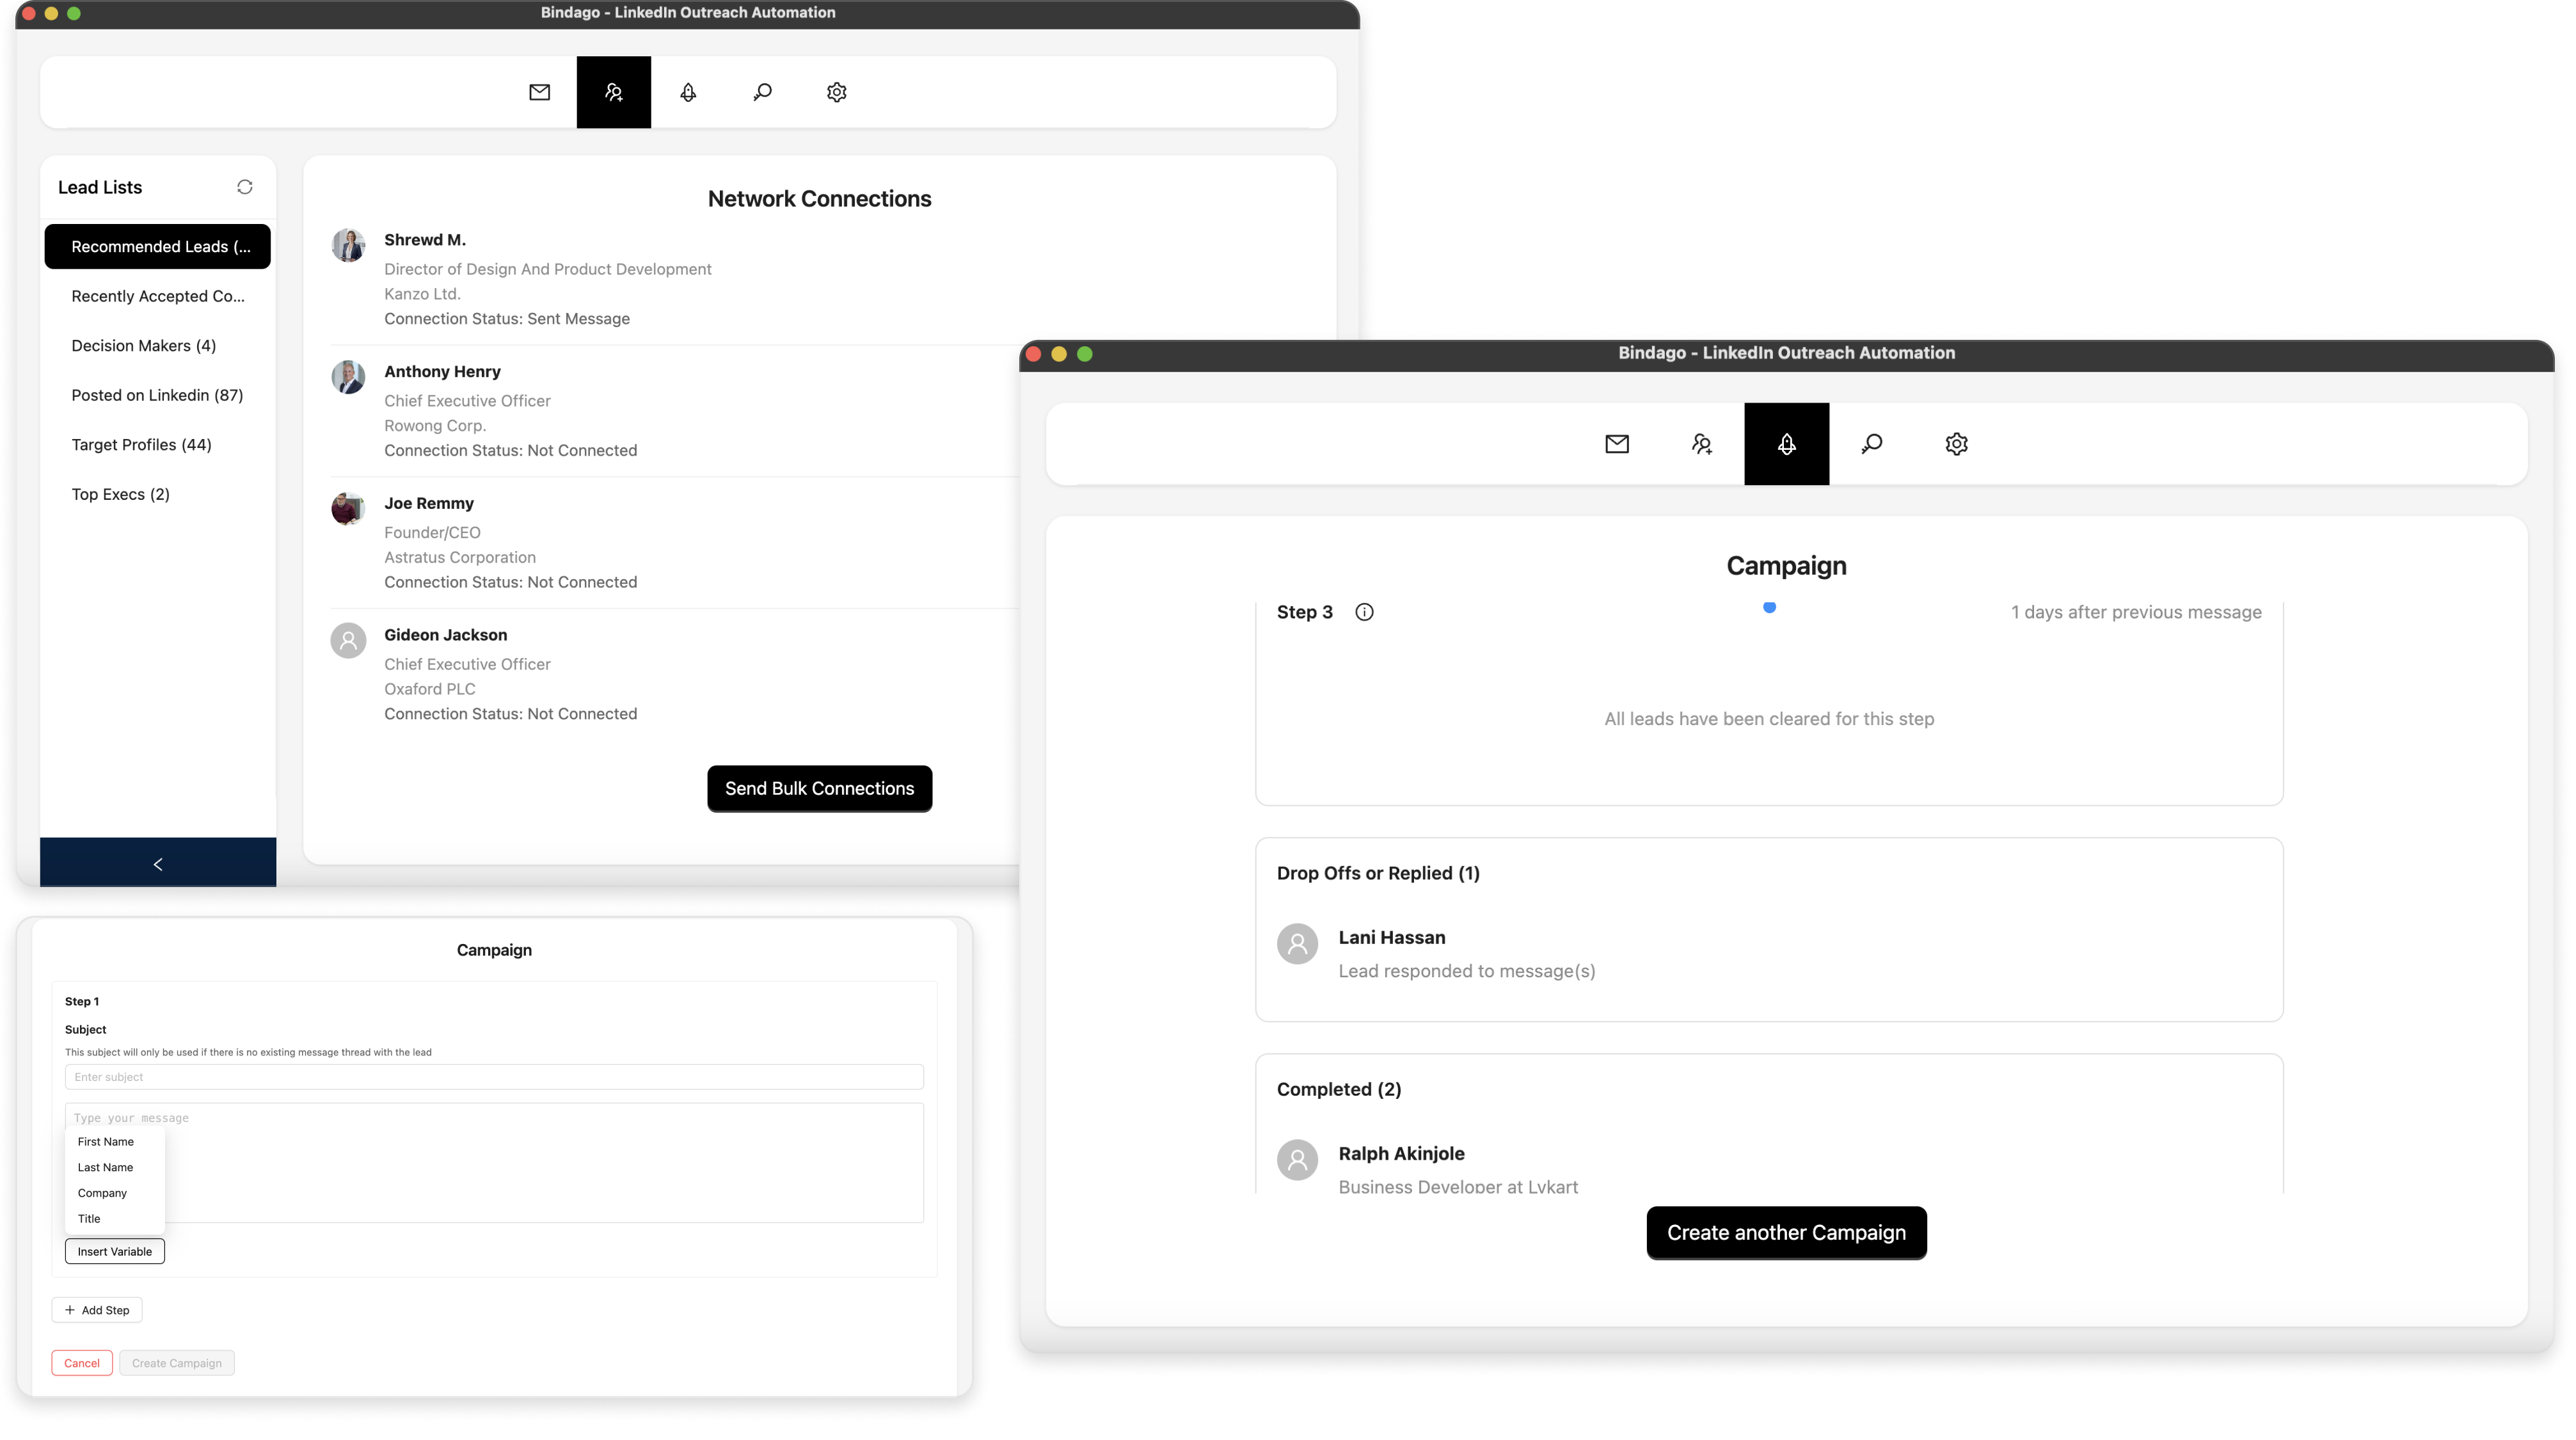
Step 3: Navigate to Lead Lists in Bindago
In the Bindago app, click on the "Lead Lists" menu item at the top. Bindago will automatically sync and display all of your saved lead lists from Sales Navigator. Select the list you want to target for your InMail campaign from the sidebar on the left.

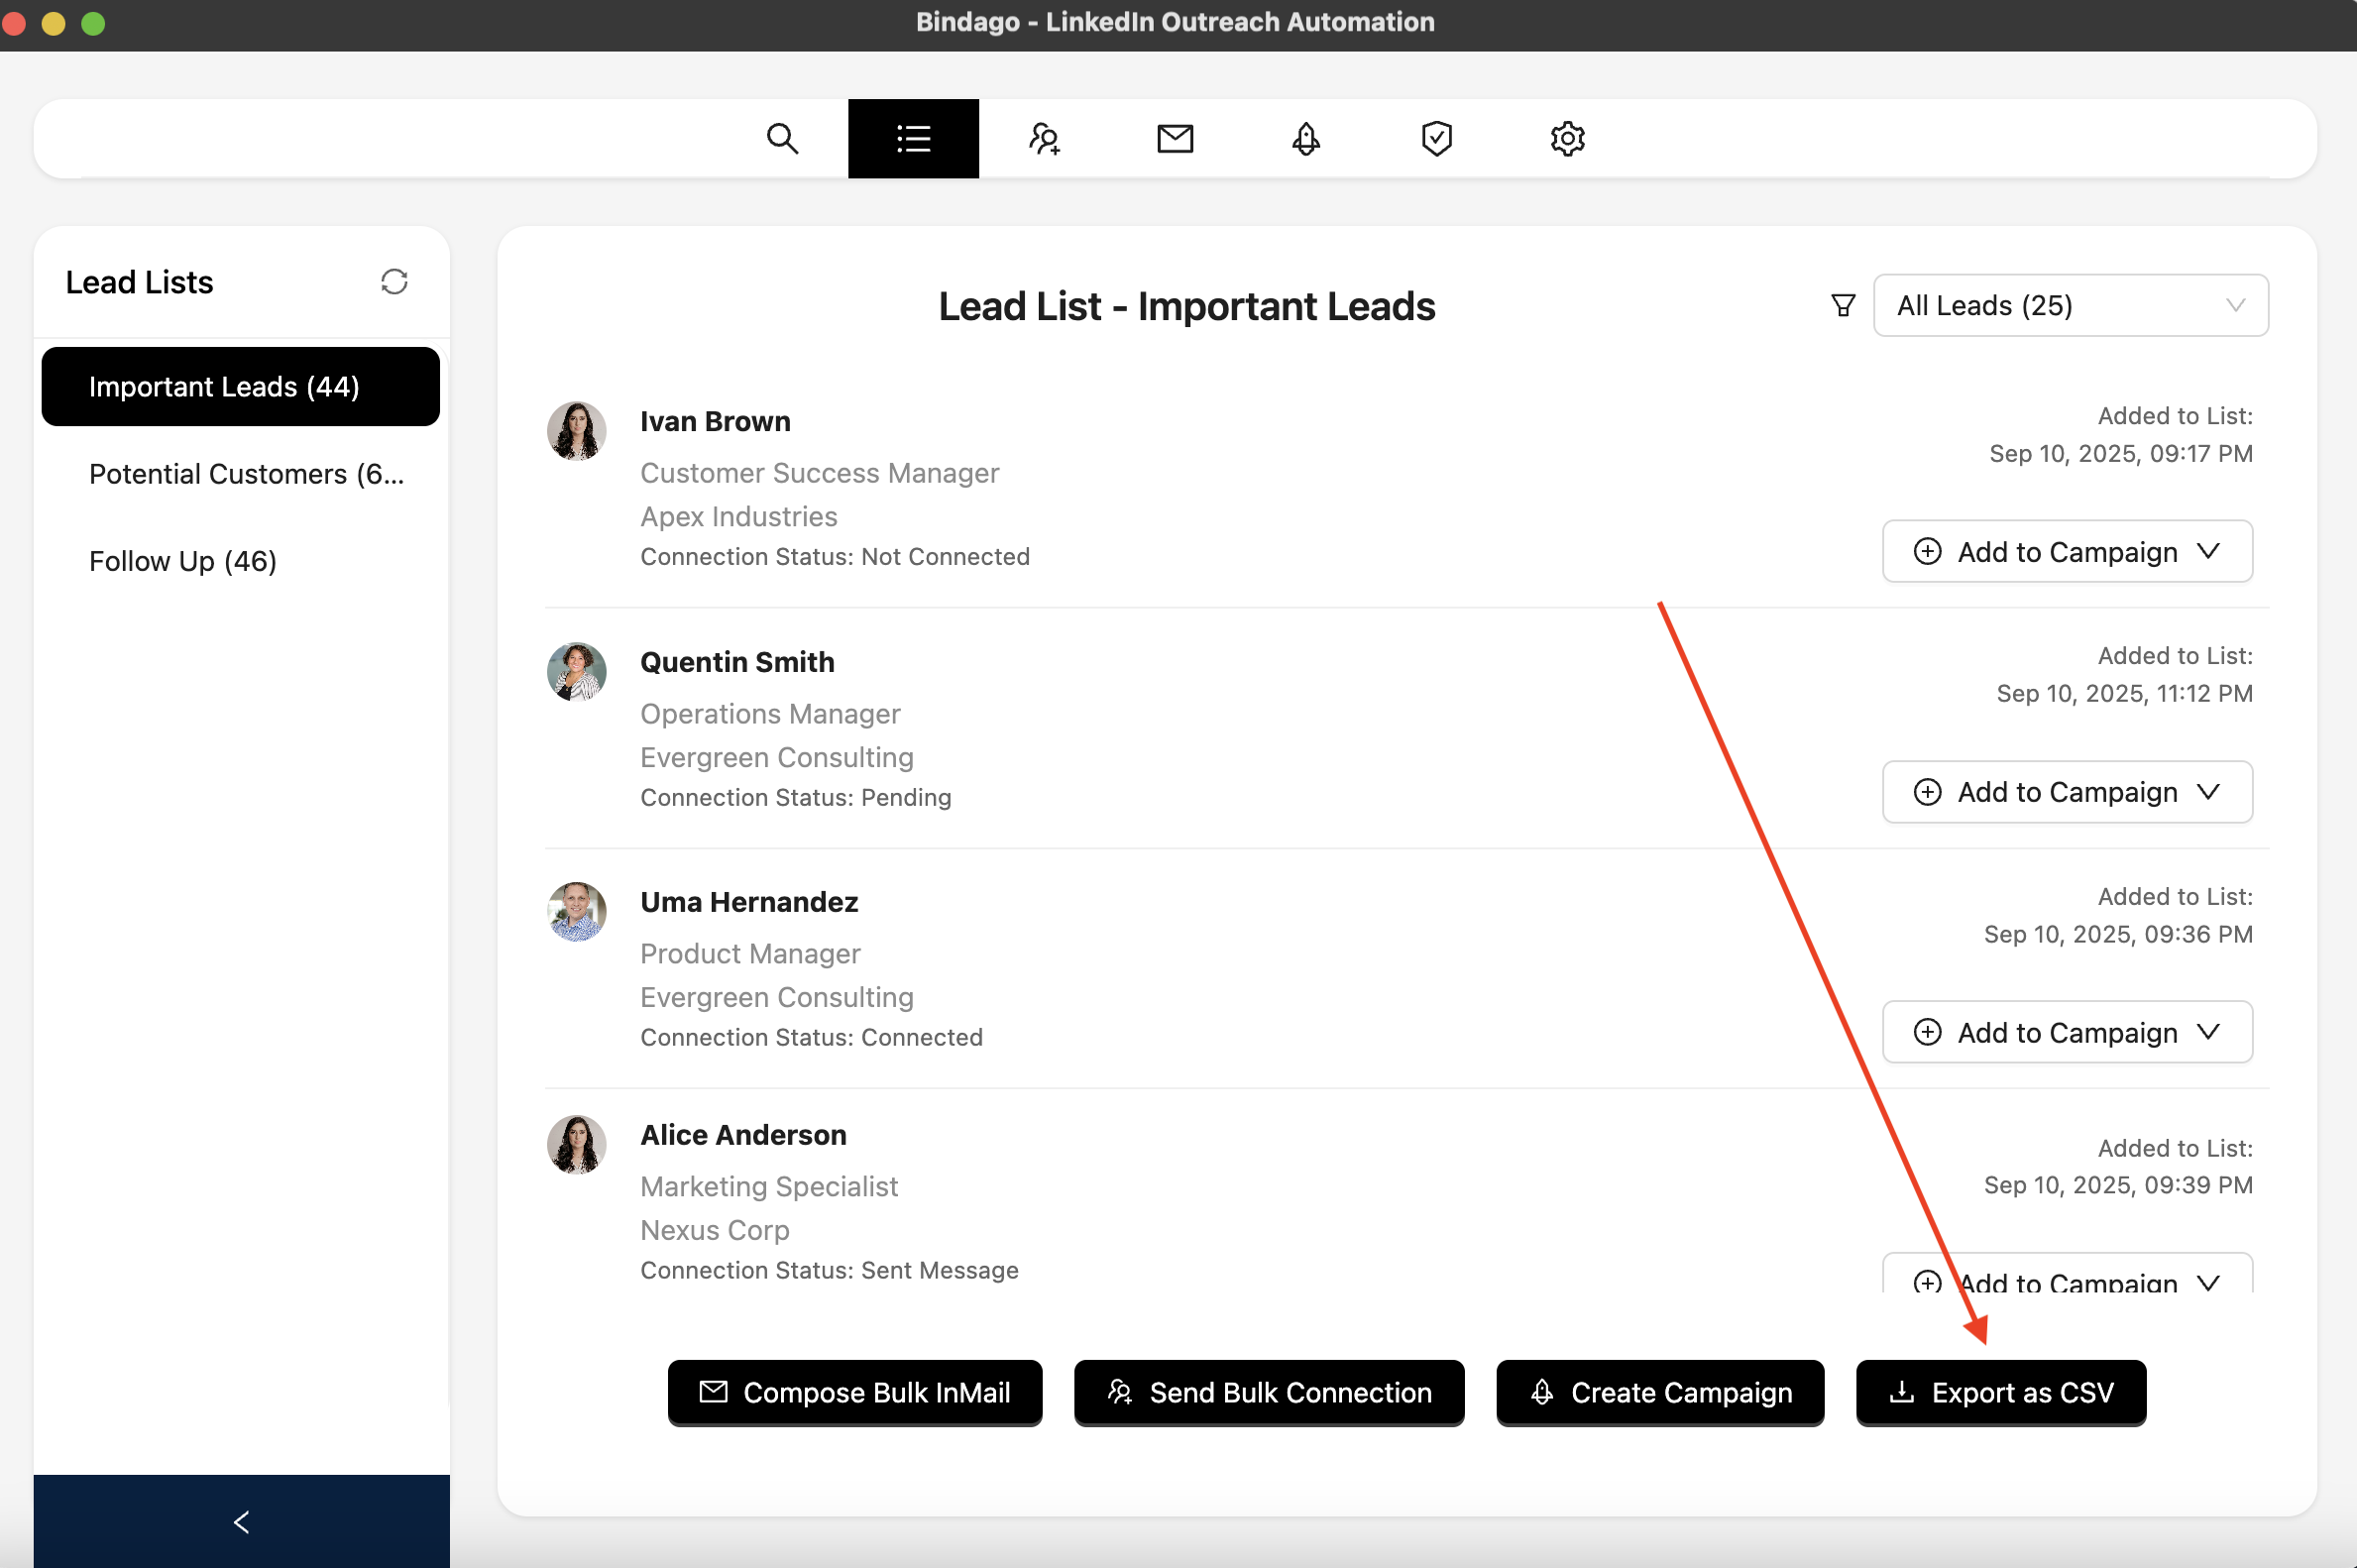
Step 4: Compose and Send Your Bulk InMails
With your lead list selected, you will see the prospects on the main screen. At the bottom, click the "Compose Bulk InMail" button.
This will open a composer where you can write your InMail message. This is where you combine the power of automation with personalization:
- Write a Compelling Subject Line: Your subject line is critical for getting your InMail opened.
- Craft a Personalized Message: Use Bindago's personalization variables like
{{firstName}},{{lastName}},{{company}}, and{{title}}to make each message feel unique. - Click "Send InMails": Once you're happy with your message, click the "Send InMails" button. Bindago will begin sending your personalized InMail to every prospect on your list, one by one, with smart, human-like delays between each message to keep your account safe.
The campaign will run in the background, allowing you to continue with your other work.
Best Practices for Automated InMail Campaigns
To ensure your automated InMail campaigns are successful and professional, follow these best practices:
- Hyper-Target Your Lists: The more targeted your list, the more relevant your message will be, and the higher your response rate.
- Personalize Beyond the First Name: Use the
{{company}}or{{title}}variables to show you've done your research. Reference a shared industry or a specific challenge relevant to their role. - Provide Value First: Your InMail should offer value before it asks for anything. Share a relevant insight, a helpful resource, or a compelling statistic.
- Keep it Concise: InMails are not emails. Keep your message short, scannable, and to the point. Aim for 3-4 short paragraphs.
- Have a Clear Call-to-Action (CTA): Tell the prospect exactly what you want them to do next. Instead of a demanding "Are you free for a call tomorrow?", try a softer, more consultative CTA like, "Would you be open to a brief 15-minute chat next week to explore this further?"
Conclusion: Scale Your Outreach, Not Your Workload
LinkedIn InMail is a powerful channel for reaching your ideal prospects, but manual outreach is a bottleneck to growth. By combining the precise targeting of Sales Navigator with the secure and efficient automation of Bindago, you can build a scalable system for generating high-quality leads.
This approach allows you to save countless hours, maintain a high degree of personalization, and focus your time on what matters most: having meaningful conversations with prospects who are ready to engage.
Ready to supercharge your InMail outreach? Download Bindago today and start your 10-day free trial.